











I’ve been telling people with oval faces that they can “pull off anything” for years. It’s the line every stylist and every magazine trots out. And technically it’s true — an oval face isn’t fighting any structural battle. But here’s the thing no one mentions: that freedom is also what gets you into trouble. Without a specific target, oval face haircuts drift. They go flat on top. They bloom at the sides. They turn into a triangle by week six, and you’re back to wondering why you can’t seem to find a cut that holds.
I’ve sat in enough chairs, and talked to enough women after a disappointing grow-out, to know that the problem is never the face shape. It’s the lack of a decision process. So I built one.
Your Route Through This Guide
- Why the Triangle Problem Happens
- Step 1: Confirm You Actually Have an Oval Face
- Step 2: Identify Your Hair’s Natural Behavior
- Step 3: Decide Which Length Zone Suits Your Life
- Step 4: What to Say in the Chair
- Step 5: The Line You Are Asking For
- Step 6: How It Should Grow
- Step 7: The Product That Keeps the Shape Honest
- Questions I Get About This
Why the Triangle Problem Happens
Oval faces have slightly more width at the cheekbones than at the forehead and jaw. That gentle taper is flattering. But hair has weight, and weight falls. If the cut doesn’t have internal structure — meaning actual weight removal and deliberate graduation — the hair piles up wherever it meets resistance. On most oval faces, that’s right at the jaw. The sides fill out. The crown goes flat. You started with a cute lob and ended up with something that reads more lampshade than lob.
The fix isn’t a different length. It’s a different way of thinking about the cut before you ever sit down.
Step 1: Confirm You Actually Have an Oval Face
This matters more than it sounds. A lot of women with softly round faces or slightly long faces get told “oval” as a catch-all compliment. Pull your hair completely back. Look straight into a mirror and trace the outer edge of your face with your finger in the air. You’re looking for: forehead slightly narrower than cheekbones, cheekbones as the widest point, jaw slightly narrower than the cheekbones, and a chin that rounds gently rather than coming to a point or sitting flat.
If your forehead and jaw are roughly equal in width and your cheekbones don’t clearly stand out, you may be sitting closer to square face hairstyles territory — and those need a different cutting strategy altogether. If your face is noticeably longer than it is wide, that’s its own category. Knowing exactly where you land determines everything that follows.

Step 2: Identify Your Hair’s Natural Behavior
Here’s the question that splits the path: does your hair expand or collapse?
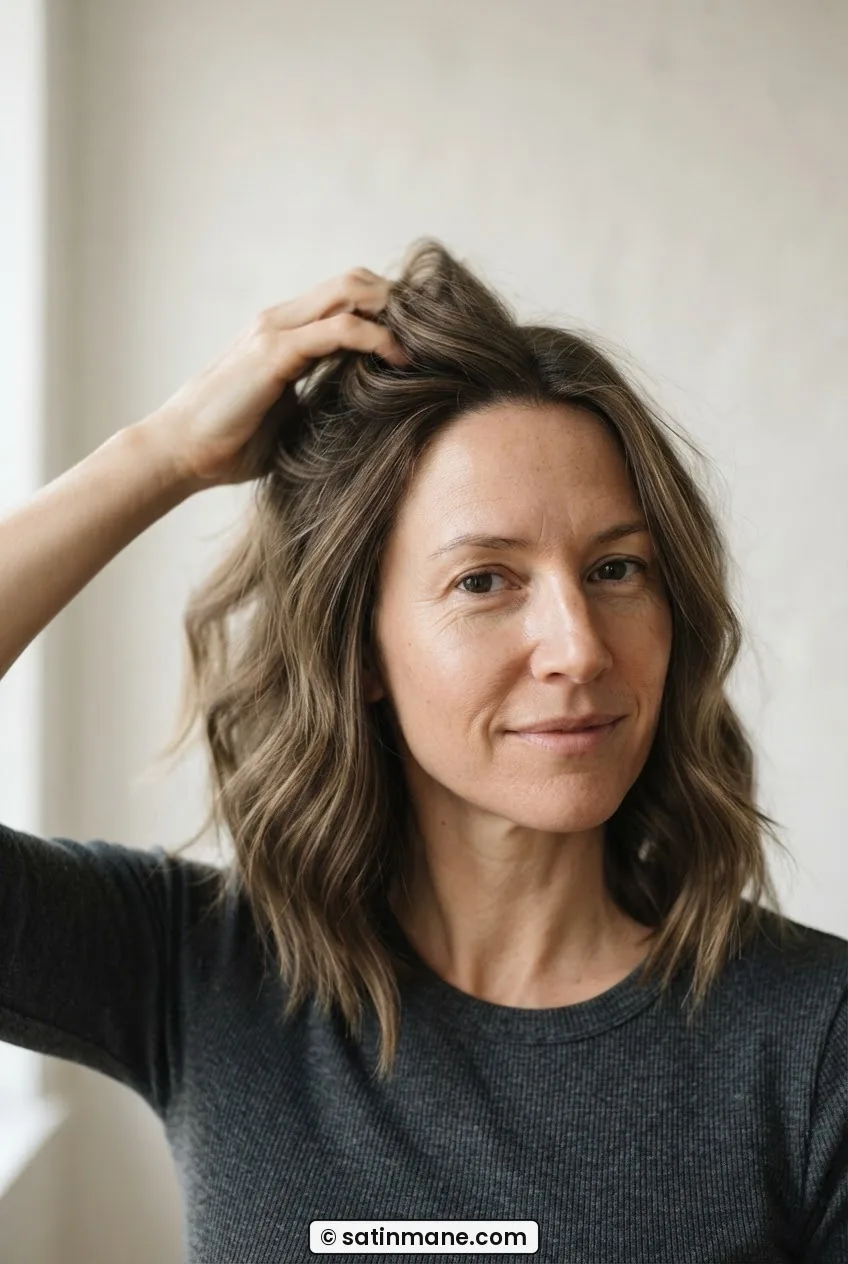
Expanding hair — wavy, curly, coarse, or prone to frizz — will amplify the triangle problem on its own. The sides get bigger as the day goes on. If this is you, you need a cut with deliberate weight removal through the sides and a perimeter line that sits higher than you think you want, because it’s going to drop and widen.
Collapsing hair — fine, straight, or silky — does the opposite. It falls flat on top and clings to the sides without volume. You need a cut that builds in structure, usually through a blunt or slightly graduated perimeter and some internal layering only through the top and mid-section, not the sides.
Hair that does both depending on weather? Welcome to wavy-fine hair. The principle stays the same: protect the top, reduce the sides. The specifics get easier once you know your hair’s default setting. If you’ve been dealing with stubborn volume or flatness at the crown, understanding how to identify your hair type properly before your next appointment can genuinely change what you walk out with.

Step 3: Decide Which Length Zone Suits Your Life
Oval face shape works across length zones — that part of the “you can pull off anything” advice is actually true. But the zone you choose changes the maintenance equation dramatically. So before you pick a specific cut, answer this question honestly: how many minutes do you spend on your hair on a Tuesday morning?
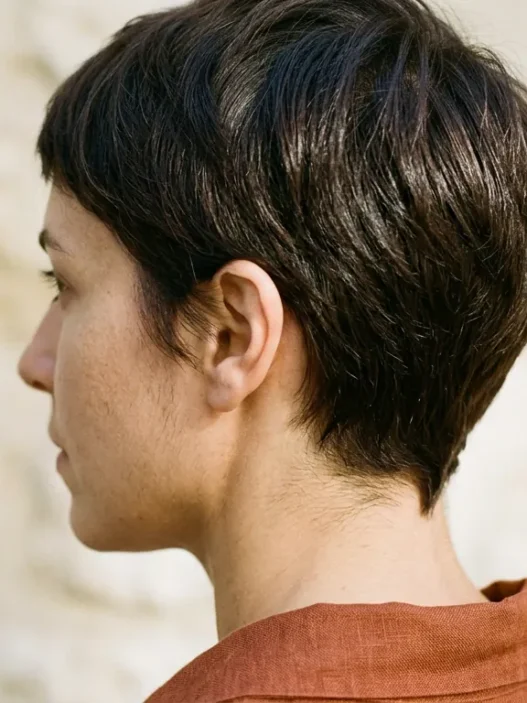
Under five minutes? You need a cut that air-dries into shape with no intervention. That points you toward textured bobs at chin to collarbone length, or a longer cut with just enough internal layering to keep it from going flat. Pixies and shags with a lot of texture also work, but they require a diffuser or some product — don’t let anyone tell you a heavily textured pixie is zero-effort.
If you have ten to fifteen minutes and a round brush, almost every length works. The key is knowing that the shorter you go, the more precisely the cut needs to be maintained — trims every six to eight weeks instead of every three to four months. I’ve watched women go short for “low maintenance” and end up back in the salon every five weeks because the shape falls apart fast. Longer cuts with solid structure can sometimes stretch to sixteen weeks between appointments. Worth thinking about before committing.
If you’re somewhere between lengths or growing something out, a bob cut built to lengthen rather than widen is actually a solid oval face option too, not just for rounder shapes — the principles around perimeter line and weight distribution overlap more than people realize.

Step 4: What to Say in the Chair
This is where most of us fall apart. We bring a photo, say “something like this,” and then watch it veer slightly off-course while nodding politely. The photo is fine. But the photo needs context.
Here’s the script I’ve landed on after too many trial-and-error appointments. Say: “My hair tends to [expand/collapse] at the sides as it grows. I want a cut that stays flattering between appointments without getting triangle-shaped at the jaw. I don’t want bulk removed through the top — I want the width removed from the sides if anywhere.”
The mistake I made for years: I kept asking for “layers” without specifying where. My stylist would thin out the top beautifully and leave the sides heavy, and by week four I had a bob that was noticeably wider at my cheekbones than anywhere else. Specify side-weight removal separately from top volume. They are not the same request.
Also tell them your maintenance reality. If you’re not blow-drying, say so. A cut designed to be styled with a brush looks terrible air-dried, and your stylist cannot mind-read. The more specific you are about your actual morning routine, the closer the result will be to what you actually live in.
It’s also worth mentioning if you wear glasses — the frame line becomes part of the visual frame around your face and affects where the haircut should sit. This is one of those details that gets skipped in consultations but changes the result noticeably. There’s good writing on haircuts for glasses wearers if you want to go deeper on that angle before your appointment.

Step 5: The Line You Are Asking For
This is the technical heart of it. The “line” is the perimeter — where the hair ends. For oval faces trying to avoid the triangle, the perimeter decision is everything.
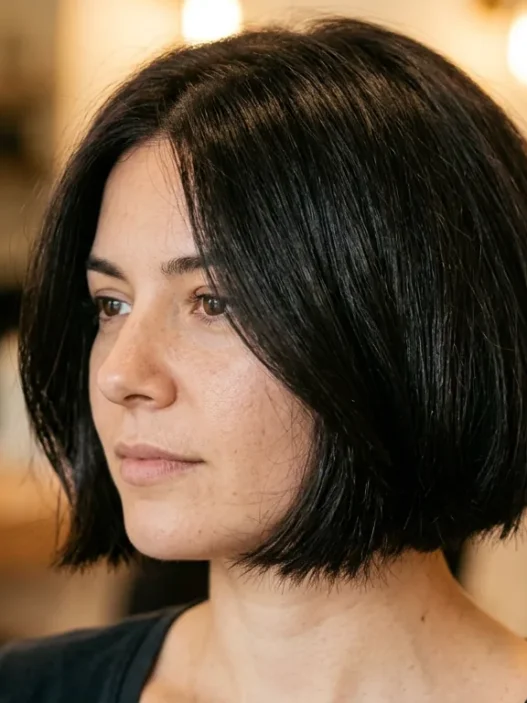
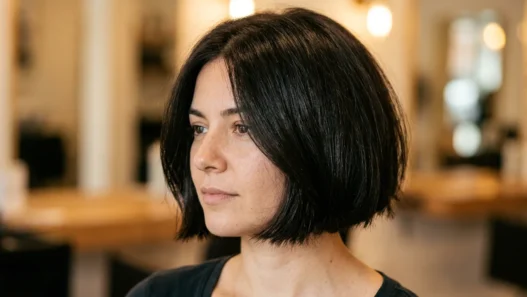
For shorter oval face haircuts — ear to chin length — you want a line that either ends above the widest point of the jaw or clearly below it, never right at it. Landing exactly at jaw level creates a horizontal visual bar that emphasizes width. A chin-length bob cut slightly above the jawbone, or a longer lob that drops to collarbone level, both sidestep this problem.
Look at how she’s wearing hers in this image — that cut sits fractionally above the jaw and has the perimeter angled very slightly longer in the front than the back. That small graduation is what keeps it from reading boxy. It’s not dramatic. You might not even notice it in a photo. But it’s there, and it matters.
For longer cuts — collarbone and beyond — the triangle risk shifts. Here, the danger is bulk at mid-shaft. The line should be clean and the interior should have some layering to reduce weight buildup, but only from the mid-shaft down. Layering through the top of a fine oval-face cut removes the volume you actually need there.
Bangs are a genuine option here and can be a smart one. A soft, side-swept or curtain-bang situation breaks up the vertical length of the face in a flattering way — but only if the rest of the cut isn’t also fighting for attention. Keep the perimeter clean if you’re adding fringe.

Step 6: How It Should Grow
A good oval face haircut grows with intention, not against you. This is what separates a cut that works for twelve weeks from one that starts looking off at week three.
Ask your stylist this before you leave: “Where will this get heavy first?” The answer tells you where the weight is sitting in the current cut. If they say “the sides” — that’s the triangle warning zone. You should be doing a shape-keeping trim (not a full restyle) at around the six-week mark to take that side weight back down without touching the length.
If they say “the back” — you have more time. Back weight usually doesn’t affect the oval face silhouette as much unless you’re wearing the cut to the collarbone, where a heavy back can start dragging the whole shape down.
Oval faces at shorter lengths — anything above the chin — need more frequent maintenance. It’s not negotiable. I know that’s not what anyone wants to hear, but short haircuts that actually hold their shape are built on consistent trimming. Skipping it is the direct route to the triangle.
If you’re curious how this plays out for faces that are close to oval but sit slightly rounder, check out what I’ve written on short haircuts for round faces — the grow-out logic overlaps in interesting ways, and understanding the contrast actually helps clarify what makes oval-specific cuts work.
Step 7: The Product That Keeps the Shape Honest
I’m not a huge product person. But there are two things that genuinely extend how long an oval face haircut stays in its intended shape between appointments, and skipping them is how cuts start looking tired by week two.
First: something with hold for the sides. Not a glue, not a lacquer — a light cream or mousse you work through damp hair before air-drying. This stops expanding hair from going wider than the cut intends. Coarse or wavy hair needs more product here than fine hair does. The goal is to define the perimeter line the cut established, not to add stiffness.
Second: a root-lifting spray or powder for the top, applied at the crown before blow-drying or diffusing. This counters the flat-top problem that oval faces get when the sides are drawing the eye outward. Even ten seconds of lifting at the root makes the proportions read correctly. Oval face hairstyles live or die on the crown-to-side ratio staying balanced — product is what holds that ratio in place while the cut grows.
Understanding products for maintaining a bob at home can also help you figure out which formulas suit your specific texture. The principles transfer across lengths, not just to bobs.

Questions I Get About This
Can oval faces really wear any haircut, or is that just something people say?
It’s mostly true, but with an asterisk. Oval faces have the most structural flexibility of any face shape — the proportions don’t fight most cuts. The catch is that “can wear” and “will look great without any thought” are different things. Even the most forgiving face shape needs a cut built with its specific hair behavior and lifestyle in mind, otherwise you end up with something that technically fits but doesn’t shine.
Is a pixie cut good for an oval face?
Yes, and it can look stunning. The main consideration is whether you can commit to the maintenance schedule — pixies on oval faces need trims every five to seven weeks or the shape breaks down fast. A soft pixie with a longer top section tends to be more forgiving between appointments than a tightly tapered version. Go longer at the top than feels instinctive on the first cut; you can always go shorter, but you can’t add it back.
Why does my jaw look wider after a haircut even though it looked fine in the salon?
Almost always, this is a perimeter-line problem. In the salon your hair was freshly blow-dried straight down — no expansion. At home, with your natural texture and a few days of gravity, the sides filled out and hit your jaw at exactly its widest point. The solution is a line that sits either clearly above or clearly below the jaw, not at it. Bring this up specifically at your next appointment and ask for the perimeter to be adjusted.
Do oval faces look good with bangs?
Generally, yes — oval faces handle most bang styles without the visual conflict you’d get on longer or rounder face shapes. Curtain bangs and soft side-swept bangs tend to be the most flattering because they add width at the forehead, which balances the natural taper of an oval face without covering the eyes or making the face look top-heavy. Blunt, full fringe can work but is harder to maintain and doesn’t suit every texture.
How do I know if I have an oval face or a round face?
The main difference is the chin. A round face has a chin that curves gently and a face that reads almost circular from the front — the width and length are close to equal. An oval face is noticeably longer than it is wide, with a slightly pointed chin. If you’re genuinely unsure, look at your round face shape resources alongside oval ones and compare the structural descriptions — seeing them side by side makes the difference click faster than measuring alone.
The result I got from going through this process myself was a collarbone-length lob with clean sides, a very slight interior layer through the mid-shaft only, and a curtain fringe I add or skip depending on how much effort I feel like that week. It’s been the first cut in years that I’ve looked at in week eight and thought “still good” rather than “when can I get back in.” That’s the whole goal. Not a perfect cut at day one — a cut that earns its keep for the full stretch between appointments.