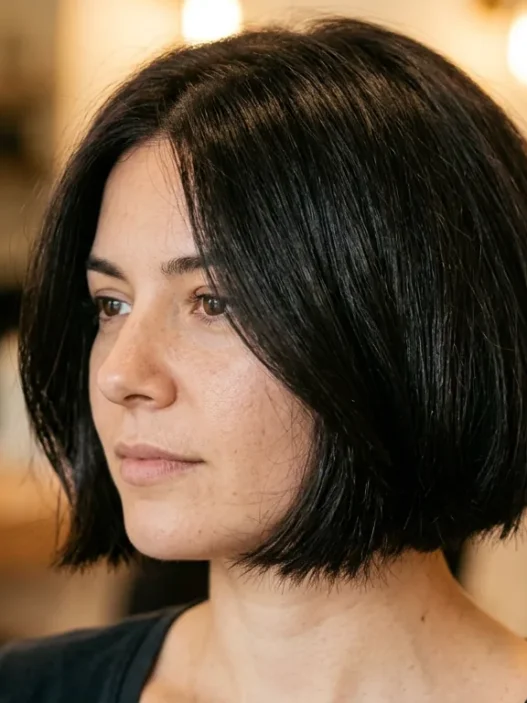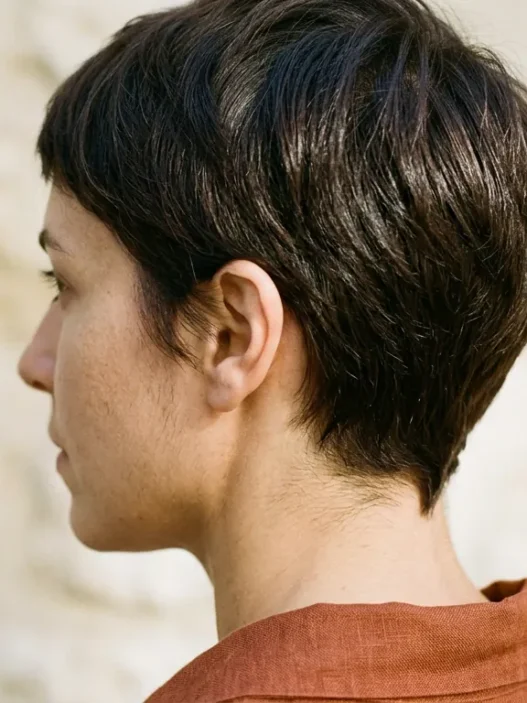








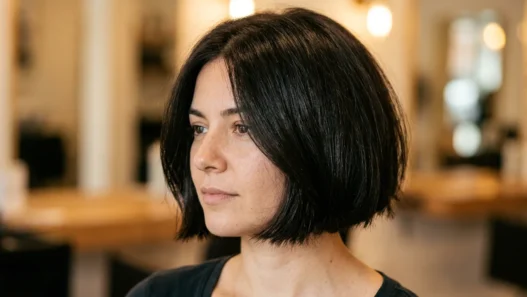




I got my long pixie cut in January and immediately panicked about how to style it every morning without spending twenty minutes at the mirror. I’d come from shoulder-length hair, so my whole routine was built around a brush and a diffuser. A friend who’d worn a pixie for three years told me to put both tools down and just use my hands — and I thought she was winding me up. She wasn’t. It took me about two weeks of trial and error to figure out the actual finger positions, and that’s what I’m writing down here so you don’t waste those two weeks the way I did.
Your Hand-Styling Roadmap
- Why No Tools
- What You’ll Need (Barely Anything)
- Step 1: Starting With Damp, Not Wet
- Step 2: Where Your Fingers Go First
- Step 3: Lifting the Front
- Step 4: Working the Sides Back
- Step 5: Leaving the Crown Alone
- Step 6: Pinching the Ends
- Step 7: The One Moment a Comb Is Allowed
- Long Pixie Styling Questions Worth Answering
Why No Tools
I want to be upfront about what this guide is: no blow-dryer, no round brush, no paddle brush, no diffuser, no flat iron. Nothing. Every single step below describes only where your fingers are and what they’re doing. The reason this works specifically for a long pixie — and not for, say, a blunt bob — is that the lengths on a long pixie are short enough that your hands have real leverage over them. You can direct hair that’s two to four inches long with your fingertips in a way you simply cannot with longer hair. The weight is gone. The hair goes where you push it.
There’s also a texture argument. A genuinely low-maintenance haircut lives and dies by how much natural movement it has, and heat tools tend to iron that movement out. Hands don’t. Hands work with what the hair is already doing.
What You’ll Need (Barely Anything)
- A dime-sized amount of a light pomade or texture cream — something that doesn’t harden
- Clean, slightly damp hands (not wet — just shake them after washing)
- A wide-tooth comb on standby for one specific moment in Step 7
- About four minutes
That’s genuinely it. The pomade isn’t even mandatory on day-two hair — it’s really there to give your fingers something to grip on freshly washed hair, which tends to be a bit slippery. If you want a product recommendation, look for anything that describes itself as a “workable” finish rather than a “stronghold” one. You want the hair to move after you’ve touched it, not freeze in place.
Step 1: Starting With Damp, Not Wet
This step is honestly the one that determines how the entire style lands, and I got it wrong for my first ten days. Soaking wet hair is too slippery and too heavy — your fingers can’t grip it, and when it dries it contracts and moves away from where you placed it. Bone-dry hair is rigid and fights you. You want the hair to feel like it just spent thirty seconds in a light mist: cool to the touch, with a little give when you press a piece between your fingers but no dripping.
The easiest way to get there is to wash your hair, then wrap a towel around your head for about ninety seconds — not rubbing, just resting. Remove the towel. Wait another sixty seconds. Then start. If you’re not washing that morning, a quick spritz from a small spray bottle does the same job. The point is that damp hair holds whatever direction your fingers give it, and as it finishes drying over the next few minutes, it sets in that position.
Step 2: Where Your Fingers Go First
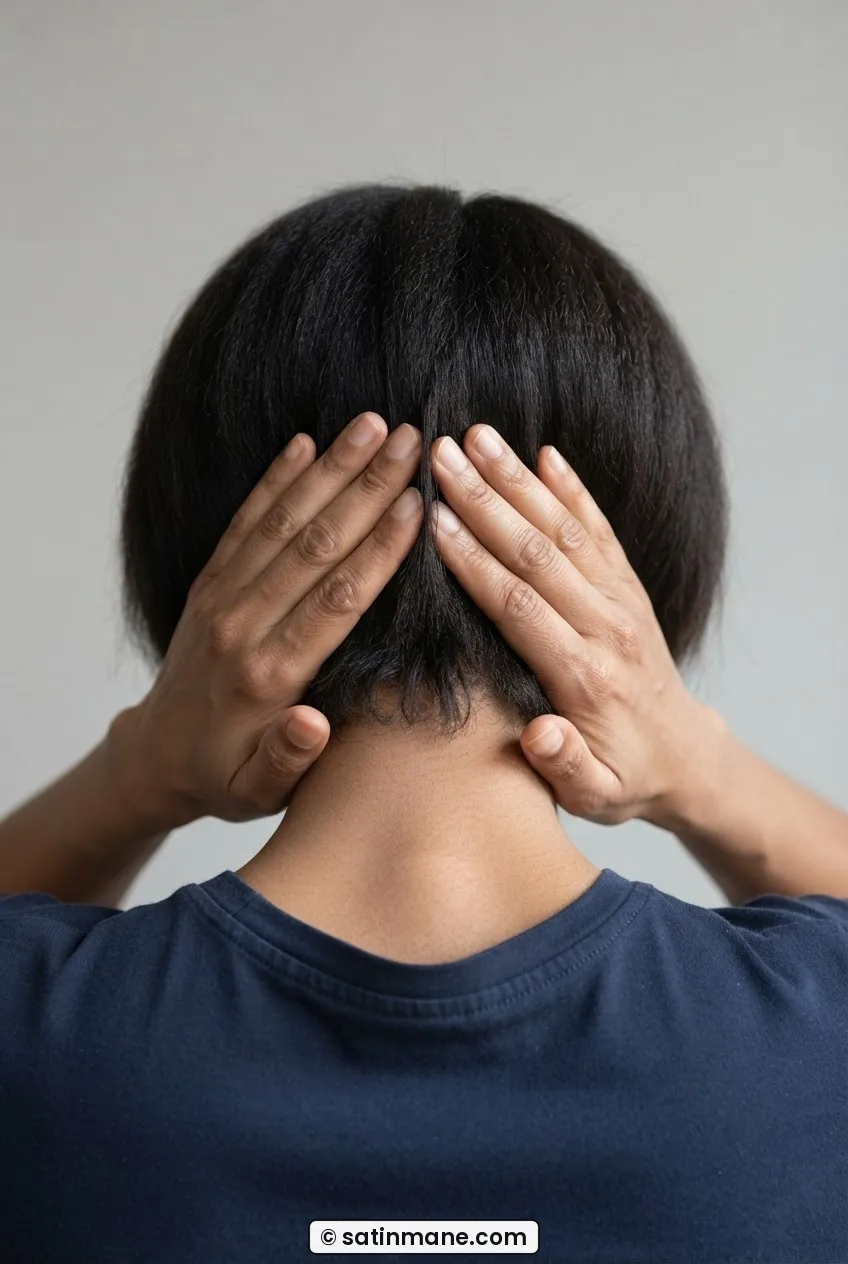
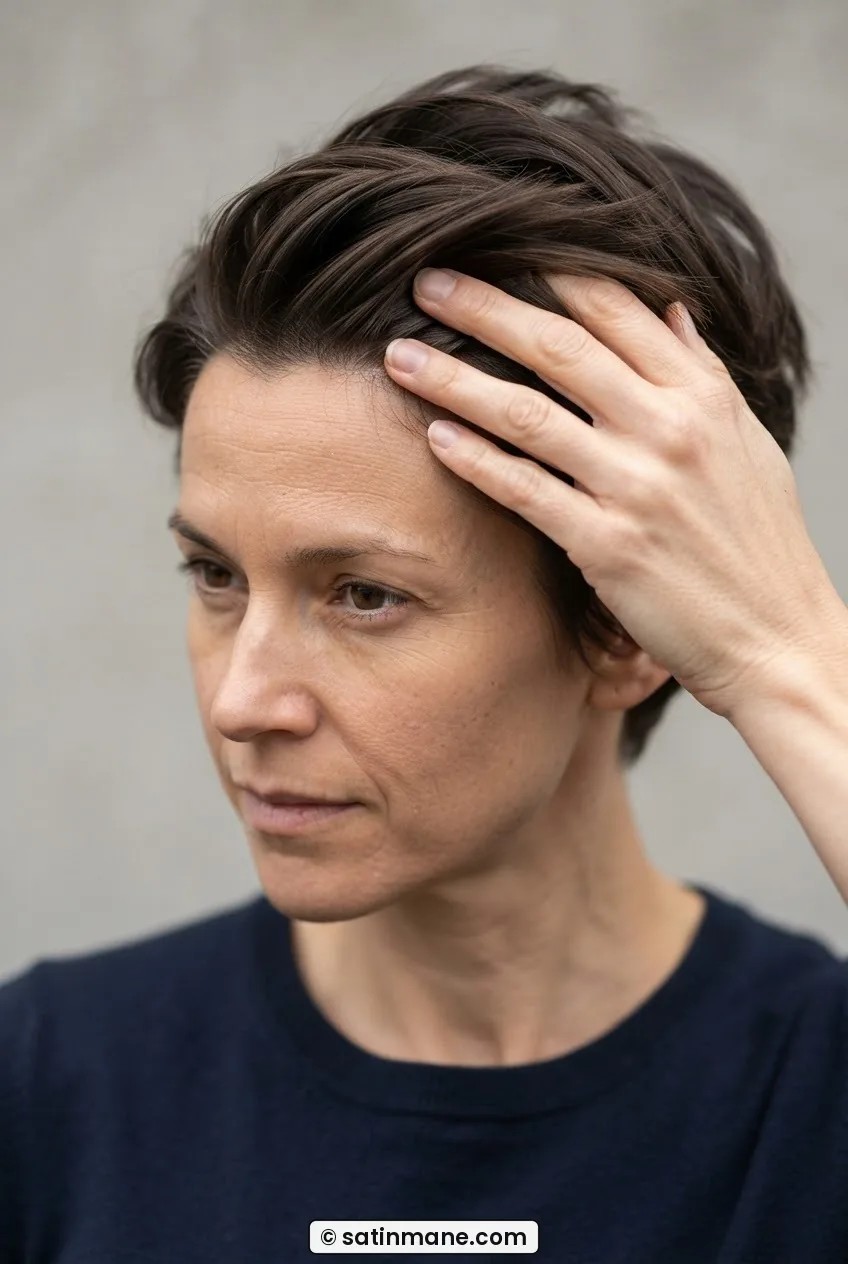
Both hands, all ten fingers, go to the nape of your neck. Not the top of your head. Not the front. The nape first — every time.
The reason is structural. On a long pixie the nape and sides are the shortest sections, and they’re also the first thing people see when they look at you. If those sections are lying flat and messy, no amount of fussing with the front will rescue the style. So you start at the back: press your fingertips flat against the nape, and push upward with light pressure. Not lifting away from the head — pushing the hair upward along the skull. This closes down any flat spots that formed while you slept and creates a small amount of volume at the base of the cut.
Do this three or four times, alternating hands, moving up from the nape toward the crown. You’ll feel the hair start to stand up slightly and separate. That’s what you want.
Step 3: Lifting the Front
Now the front. This is the section most people attack first and it’s always a mistake — you end up pushing product into already-placed front pieces and they go stiff and weird. By coming to the front third, you already have the back and sides roughly in place, which means you can see what the front actually needs to do.
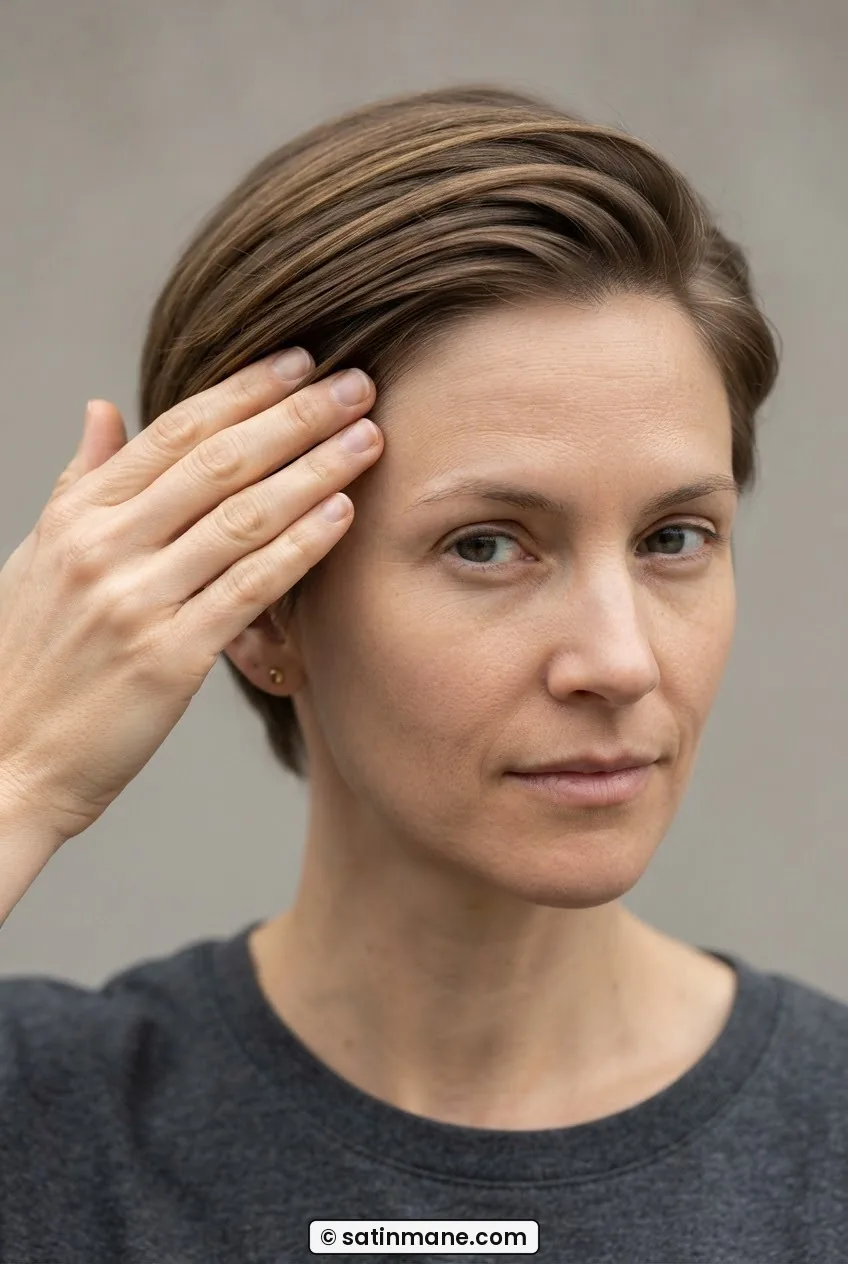
Place your dominant hand’s fingertips — specifically the pads of your index, middle, and ring finger — at the hairline above your forehead. Now press in and push backward, following the natural curve of your skull. Don’t lift the hair up and away from the head yet. Just press it back along the scalp once, firmly. This sets the direction before you add any lift.
Then — and this is the actual lift move — slide those same three fingers back in at the hairline again, but this time angle them so that as you push backward, you also rotate your hand so your fingertips end up pointing slightly upward. The motion is like you’re scooping. The front pieces will rise. Hold the position for two seconds. Let go slowly. She’s wearing hers lifted exactly this way in the photo below — see how the pieces fan slightly rather than lying flat? That’s the finger scoop doing its job.
The mistake I made here: I used too much product on the front before lifting. The pieces clumped together and looked like I’d glued them. A dime-sized amount total for the whole head — and most of it belongs at the back and sides, not the front. The front needs maybe one swipe of whatever’s left on your palms.
Step 4: Working the Sides Back
This is the step I keep coming back to as the one that changed the whole style for me. On a long pixie, the side sections sit right at the temples and in front of the ears — and they’re long enough to go in multiple directions but short enough that where they land matters enormously. Most people either push them straight back toward the ear (which makes the style look severe) or leave them alone entirely (which makes the style look unfinished). The right move is neither.
Place your left hand’s four fingers flat against your left temple, with your fingertips pointing toward the top of your ear. Now sweep those fingers backward and very slightly downward — like you’re tucking something behind your ear, except you’re doing it with your whole hand, not your thumb. The hair follows. What you get is a soft, diagonal direction that takes the side sections away from the face without making them look plastered down. Repeat on the right side with your right hand.
This is also the moment where the style starts to look intentional rather than air-dried. If you’ve been reading about the range of short pixie shapes, the long version sits in an interesting middle zone — long enough to style with direction, short enough that your hands can do it in seconds. The side sweep is specific to that length.

Step 5: Leaving the Crown Alone
I mean this literally. Hands off the crown.
The crown on a long pixie haircut is usually where the most length lives — maybe three to four inches — and it’s also where the most natural movement lives. If you’ve done Steps 2 through 4 correctly, the crown hair is already sitting in a reasonable position because everything around it has been directed. The moment you start touching the crown, you flatten it. Or you push one piece the wrong way and spend the next five minutes trying to fix it.
What works instead: stand back from the mirror by about two feet and look at the crown from a slight downward angle. Is there a piece that’s clearly going the wrong direction? Just press it once with your palm — flat hand, light pressure, one second — and leave. One deliberate touch is fine. Repeated touching is how you end up with a flat, over-handled crown that no amount of product will rescue by noon.
This is especially true if your hair is on the finer side. The guide on pixie cuts for fine hair says it well: less manipulation, more trust in the cut itself. That principle applies here more than anywhere else in the process.
Step 6: Pinching the Ends
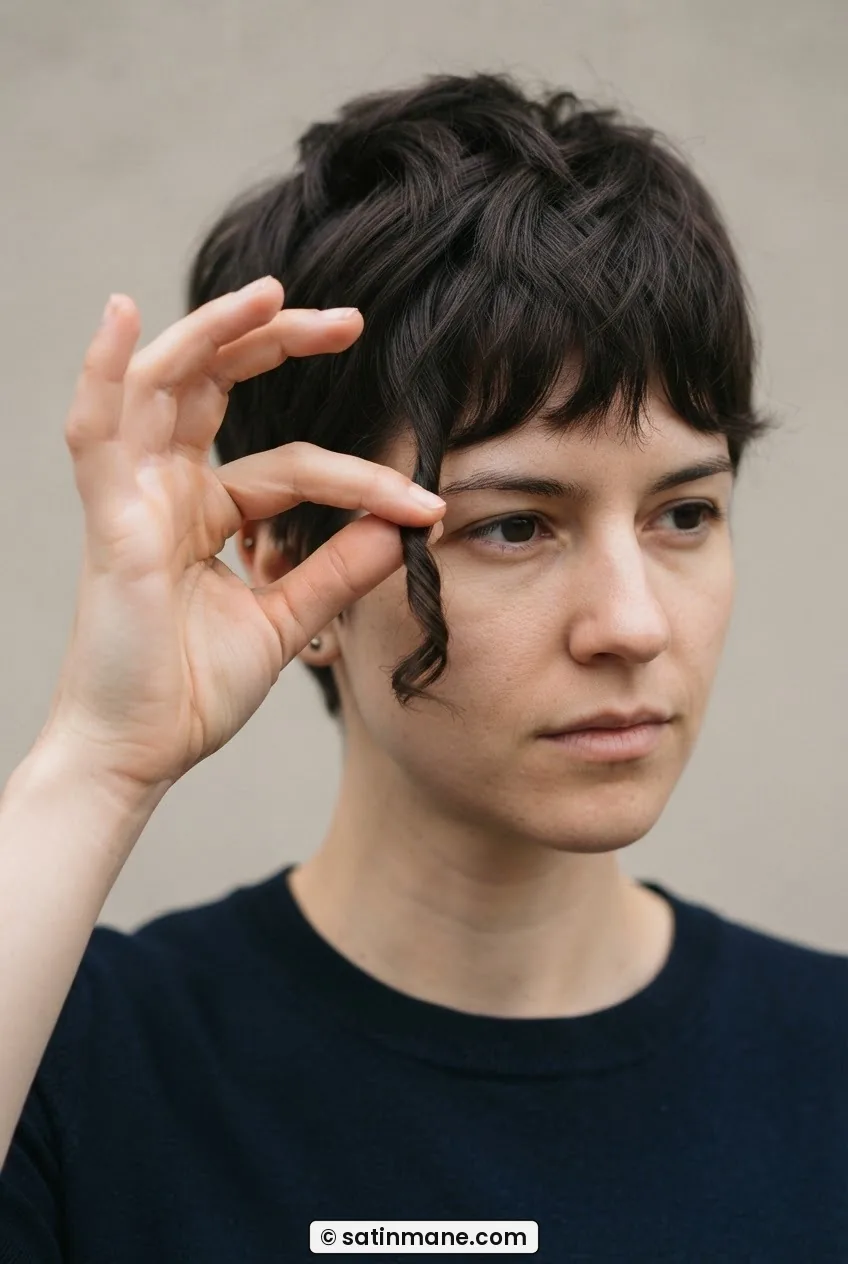
This step is the texture step. It’s what separates a long pixie that looks like a styled cut from one that just looks like growing-out hair. And it’s genuinely just your thumb and index finger, working in small pinches across the ends of the longer sections.
Go to the front first. Take a small piece — about the width of a pencil — between your thumb and index finger and give it a gentle twist, maybe a quarter turn, then let it go. Don’t hold it. Don’t squeeze. Twist and release. Move to the next piece. Do this across the fringe area and down into the side sections, wherever you can see the individual ends of the hair. What this does is create tiny variations in direction — some pieces point slightly left, some right, some forward — and that variation reads as texture. It’s the same thing adding texture to short hair does with products, but you’re doing it with your fingers.
A shaggy or textured pixie cut benefits the most from this step because the layers were cut to move independently — the pinching just confirms that independence. But even if your cut is softer and more blended, the pinching adds a little life that makes the style look deliberate rather than accidental.
A Tutorial That Shows the Pinching Technique Clearly
Step 7: The One Moment a Comb Is Allowed
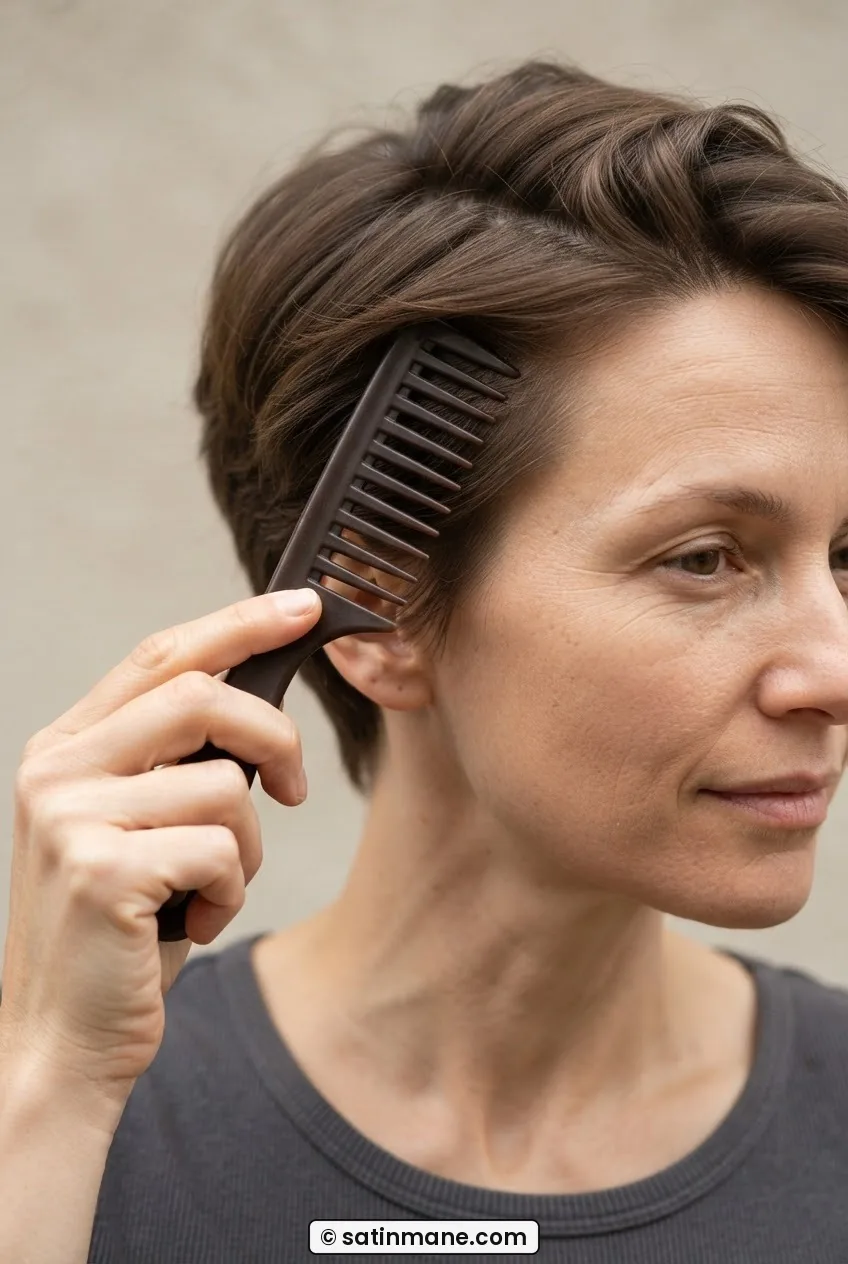
Yes, there’s one comb moment. I’m not going back on the no-tools promise — a wide-tooth comb counts as a finishing tool when used exactly this way, not a styling tool.
After all six steps above are done and the hair looks roughly right, pick up the wide-tooth comb. Hold it with two fingers only — thumb and index — and use just the last two teeth of the comb (the very tip) to gently lift any section where the hair has collapsed completely flat against the scalp. You’re not combing through the hair. You’re barely touching it. The tip of the comb goes in at the root, gives one upward flick, and comes out. That’s it. You might use this on one or two spots — the left temple section that always goes flat on me, for example — and then the comb goes back down.
This is specifically about root lift at individual problem spots, not about restyling. If you find yourself combing through more than three sections, it means something earlier in the process didn’t land and you need to go back to Step 2 rather than trying to fix it with the comb now.
And that’s actually the whole thing. Seven steps, under five minutes, no heat, no real tools. If you’re thinking about going shorter from here, it’s worth knowing what the undercut pixie options look like — some of those styles are even faster to style by hand because the sides and nape remove themselves from the equation entirely. And if you’re in the opposite situation — wondering whether you even want to stay at this length — the guide to growing out a pixie has angles I wish I’d read earlier.

Long Pixie Styling Questions Worth Answering
Does this hand-styling method work on wavy or curly long pixies?
Better, actually. Curly and wavy hair has natural movement that gives your fingers more to work with — the pinching step in particular gets more definition on texture hair than on straight hair. The main adjustment is to be lighter with the product; wavy and curly hair can look crunchy fast if you overload it.
How often does a long pixie actually need trimming to stay style-able by hand?
Every six to eight weeks for most people, though I personally stretch to nine and the style still cooperates. Once the nape hair gets past a certain length it starts to behave more like short hair than a pixie — lying flat rather than lifting — and that’s when you know you need a trim. The front can go longer between cuts without losing its style-ability.
What if my long pixie has no texture and just falls flat no matter what my fingers do?
That’s usually a cut issue rather than a styling issue. A long pixie that’s cut with very little layering or internal texture will resist hand styling because all the weight sits at the same length. Talk to your stylist about adding point-cutting or razoring into the ends — that alone can transform how much the hair moves under your hands.
Can I style a long pixie with just water and no product at all?
On day-two or day-three hair, yes — often better than with product, because there’s already a slight wax buildup from previous styling that gives your fingers grip. On freshly washed hair it depends heavily on your hair’s texture. Fine, straight hair usually needs at least a touch of something to hold direction; thicker or coarser hair often doesn’t.
Two months in, my morning routine is genuinely four minutes. I timed it last Tuesday out of curiosity. The style I get isn’t perfect — there are mornings where one side wants to go forward and the other wants to go back and I just have to let it be a little asymmetrical — but it looks intentional and it looks like a real cut rather than a bad hair day. That’s all I was actually after.