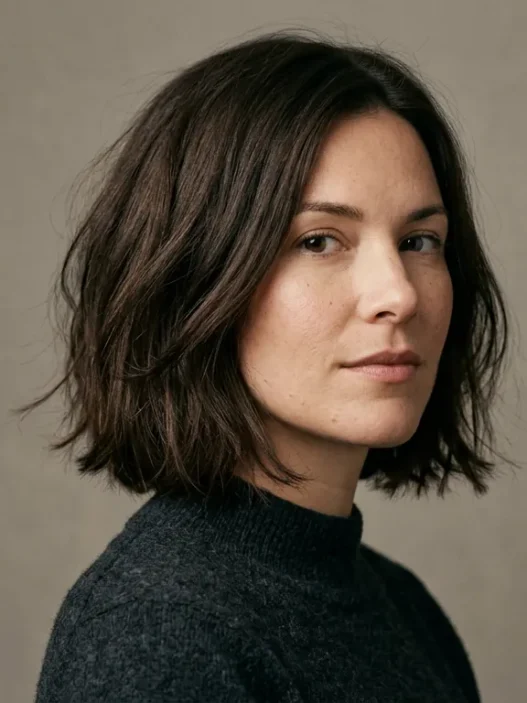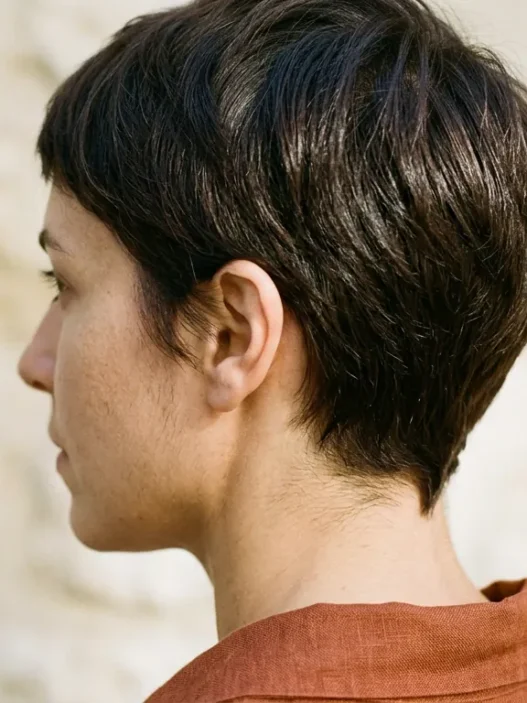








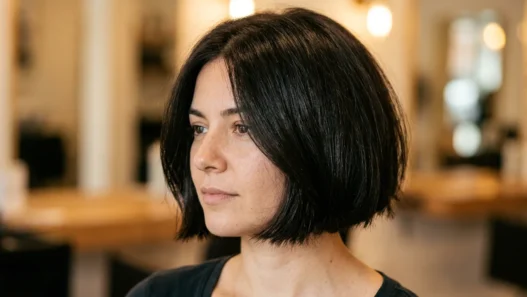


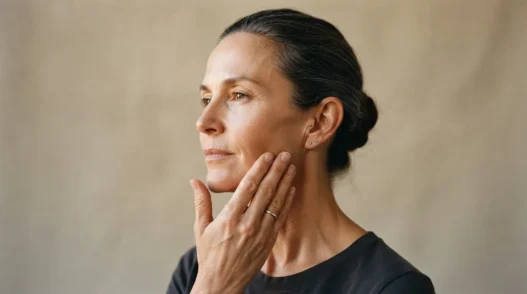
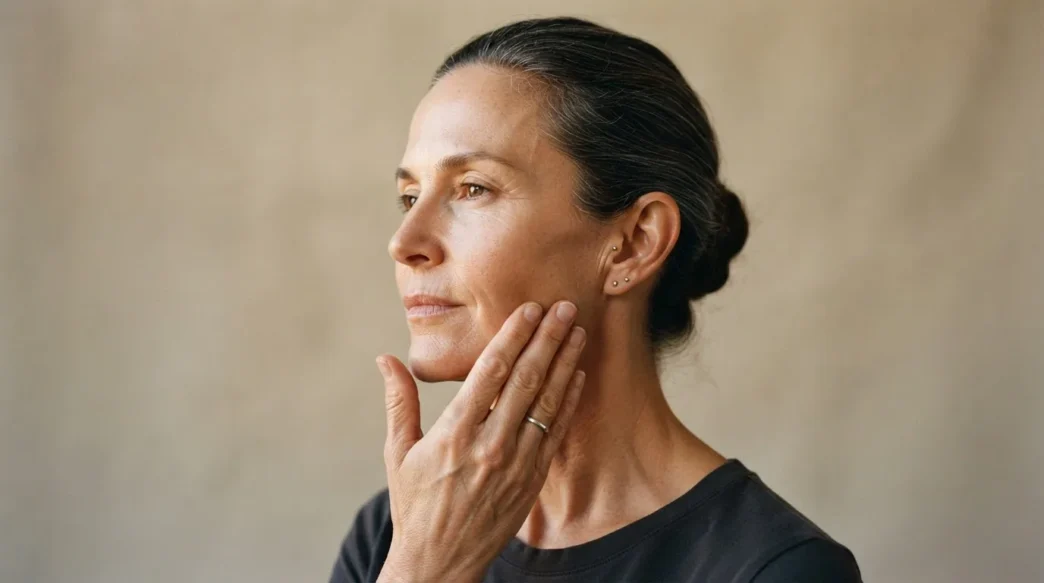
I spent a decade pointing at magazine photos in the salon chair and walking out with something that looked nothing like what I asked for. Not because the stylists were bad — they weren’t — but because I genuinely didn’t know how to describe what I needed. I knew I wanted to look less tired. Less heavy around my jaw. More like myself at thirty-eight and less like someone who’d given up. What I didn’t know was that those things are actually technical requests, and there’s a method to making them.
This guide is what I wish someone had handed me before any of those appointments. It’s not about picking a celebrity photo and hoping for the best. It’s about walking in with a clear picture of your own face, your own texture, and the specific words that turn a vague wish into a cut that actually does what you want it to do.
What We’re Working Through, Section by Section
- Why This Method Exists
- What You’ll Need Before the Appointment
- Step 1: Reading Your Jaw and Where Width Lives
- Step 2: Deciding the Length Line
- Step 3: Sectioning the Crown
- Step 4: Where the Weight Comes Out
- Step 5: Building the Face-Framing Pieces
- Step 6: Drying It the Way You Actually Will
- Step 7: Telling Your Stylist All of It
- What It Looks Like When It Goes Wrong
- How It Behaves on Day Two and in Week Seven
- Questions I Get About This
Why This Method Exists
A younger-looking haircut is not really about the cut itself. It’s about how weight and movement interact with your specific jaw, your specific temples, and the places where your face has changed since your twenties. Those changes are different for everyone — some of us carry more fullness in the cheeks now, some of us have a softer jawline, some of us have temples that sit differently. A haircut to look younger is really a haircut that redirects attention: away from the areas you’d rather not spotlight, and toward the structure you’ve had all along.
Face shape is the starting filter. Almost everything else — length, layers, fringe, weight line — is decided by where you need width removed or added. Get that part right first, and the rest of the conversation with your stylist gets dramatically easier. I pulled together a lot of what I know about this from time spent reading over at Satinmane.com, which covers this stuff in the kind of practical detail that actually helps.
What You’ll Need Before the Appointment
Nothing fancy. But you do need a few things gathered before you sit down — either at home with a mirror or in the salon.
- A large mirror — ideally one you can step back from, not just a compact
- A second smaller mirror or your phone camera on selfie mode (for the profile view — this is the one most of us ignore)
- Good natural light or a ring light if you have one
- Your phone with a few reference images saved — not of a specific haircut, but of the direction and weight you’re after
- A hair tie or clips to pull your hair back while you study your face shape
- A notepad or your phone notes app — you’ll be writing down a couple of specific phrases
- Ten minutes of quiet, because this is actually harder to do on the fly than people think
That’s it. No measuring tapes, no complicated geometry. Just you, your face, and some honest looking.
Step 1: Reading Your Jaw and Where Width Lives
Pull your hair back completely. All of it — off your face, off your neck, clipped or tied tight. Now look straight at the mirror and put one finger on your widest point. Is that your cheekbones? Your jaw? Your temples? That widest point is the thing your haircut needs to respond to.
Now look at your jaw specifically. Is it angular and defined? Softer and rounder? Wider than your forehead, or narrower? I know this feels clinical, but it matters — because the jaw is what haircuts either disguise, sharpen, or completely ignore, and at fifty-plus it’s usually where the most change has happened.
A quick rough read: if your face is widest at the cheekbones and tapers at both forehead and jaw, you’re oval-ish, and almost every cut works for you. If your jaw and forehead are close to the same width, you’re closer to square or rectangular. If you carry most of your width in your cheeks and have a rounder chin, that’s the round-face territory where round face cuts need extra thought. If your forehead is wider than your jaw, you’re working with more of a heart shape. Write down what you see. One or two words. You’ll use it in Step 7.
Step 2: Deciding the Length Line
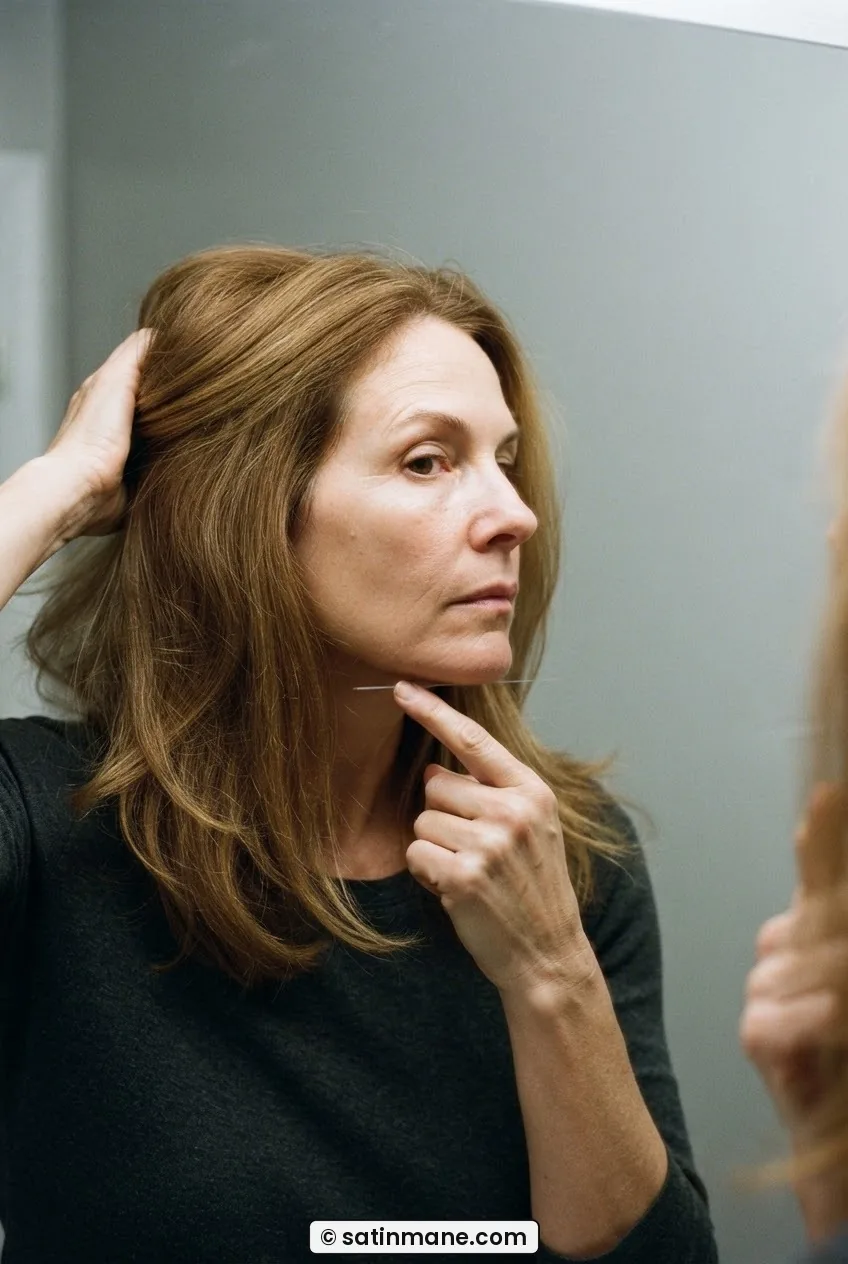
Now — still with your hair back — take your index finger and draw an imaginary horizontal line across your face at different heights. At your chin. At your jaw. Just below your earlobe. At your collarbone. Do this slowly in the mirror and notice where your face looks its best proportioned.
For most women over forty-five, the chin-to-collarbone range is the sweet spot. Here’s why: hair that ends exactly at the jaw tends to visually widen it. Hair that’s too long and heavy drags the face down and adds weight where things have already shifted south. A length line that hits just below the jaw — maybe an inch or two — gives you movement, frame, and lift without fighting gravity.
If you’ve been carrying a long, one-length blowout for years and wondering why it’s stopped looking as good, this is often the reason. That hair length and aging relationship changes significantly after forty-five, and the fix is usually simpler than you think. Don’t go shorter than you want — but do be honest about where your hair is sitting versus where it’s helping you.
Step 3: Sectioning the Crown
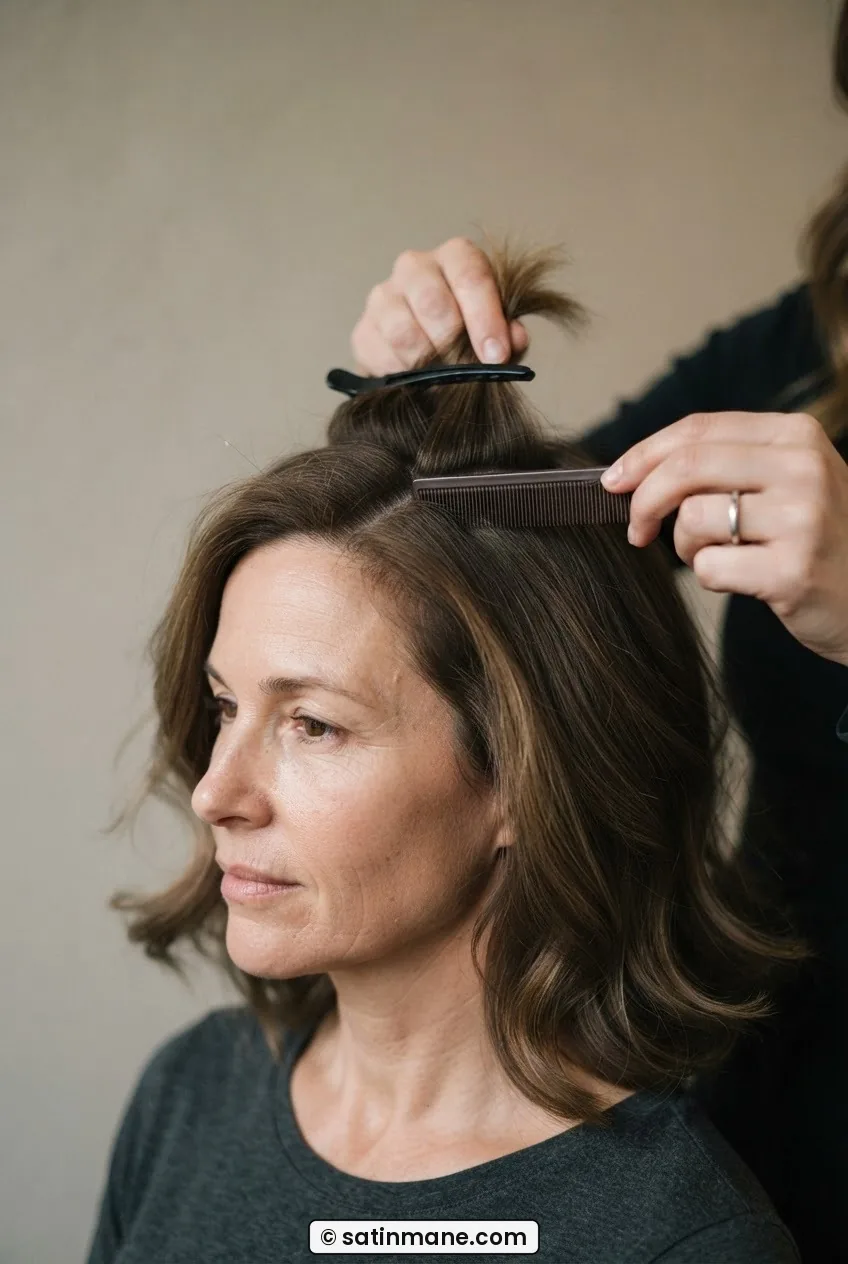
This is the step nobody talks about in the appointment — and it’s the one that makes or breaks whether a cut looks lifted or flat. The crown section is roughly the top third of your head, from the recession line at your temples to just past the apex (the highest point of your skull). What happens to that section in a cut determines how much height you carry at the top, and height at the top is one of the fastest visual tricks for looking younger and more awake.
At home with your mirror: part your hair the way you actually wear it. Now look at the crown. Is the hair lying completely flat? That’s a weight problem — probably a one-length cut with no graduation. Does it spring up on its own? You’ve got natural volume working for you. Does it puff sideways at the temples but go flat on top? That’s actually very common with fine hair in the forty-plus age group, and it means you need lift specifically at the top section, not at the sides.
Write down what you see. You’re going to ask your stylist to build this section differently depending on your answer. “More lift through the crown” or “flat and heavy through the top” — both are usable, specific phrases.
Step 4: Where the Weight Comes Out
This is the pivotal step. Where the weight is removed in a haircut determines everything about how the final shape reads on your face. And most women never get this specific in the salon — they say “take some weight out” and leave it up to interpretation.
Here’s how to think about it. Weight in a haircut sits at the perimeter — the ends — until a stylist removes it through layering, graduation, or point-cutting into the tips. When weight is removed from the right places, it creates movement and softness. When it’s removed from the wrong places, it creates puffiness, or a flat, shapeless finish.
For a cut that genuinely makes you look younger, weight typically needs to come out in two specific places: at the back, below the occipital bone (that ridge at the base of your skull), so the shape doesn’t get bulky and round behind your head — and at the interior of the mid-lengths, not the very tips. Interior weight removal creates softness and movement without sacrificing length or outline shape. It’s what gives a cut that light, effortless quality.
Conversely, if you have a very fine, thin texture, you may actually want some weight retained at the perimeter — a blunt or slightly graduated edge gives the illusion of thickness. This is where knowing your hair type before the appointment matters. For more on how weight removal works specifically in short cuts, the principles are actually the same, just applied on a smaller canvas.

See Interior Weight Removal in Real Time
Step 5: Building the Face-Framing Pieces
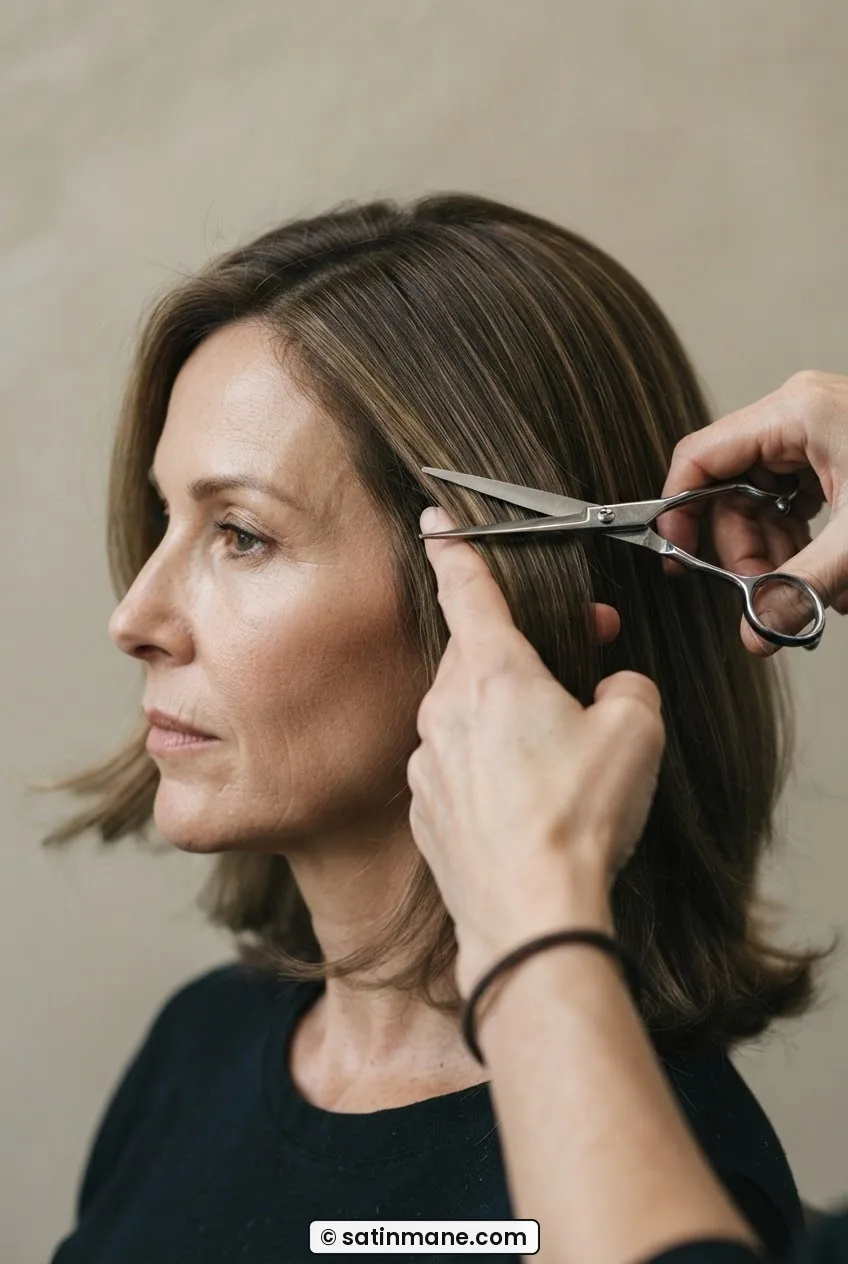
Face-framing pieces are the strips of hair that fall either side of your face — from your temples down. Done right, they direct the eye exactly where you want it. Done wrong, they add width to your jaw, or they look like someone accidentally cut into the front of your hair and called it a feature.
The thing that determines whether face-framing works for you is the angle of the pieces. Pieces that angle steeply — shortest at the face, longest at the back — draw the eye downward. That works well if you want to elongate a rounder face. Pieces that are more blended and less angular sit closer to the face and add softness without dramatic movement. For square or strong jaws, slightly longer face-framing pieces that just clear the jaw bone are almost always flattering — the length skims past the widest point rather than sitting right at it.
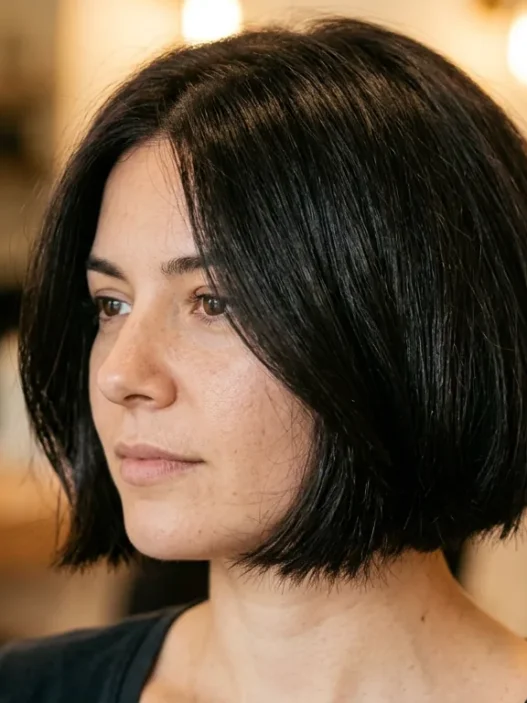
Look at how she’s wearing hers in this photo — those pieces angle just past her jawline, and that’s exactly the position I mean. They don’t end at the jaw. They pass it. That single inch of difference is the thing that keeps the cut from visually widening everything below the cheekbones.

If you have a round face, the face-framing layers angle is especially critical — the goal is always to create a visual line that elongates rather than widens. There’s a really detailed breakdown of this at short haircuts for round faces that covers this exact principle in more depth if that’s your shape.
Step 6: Drying It the Way You Actually Will
This is the step that salons get wrong — not in the cut itself, but in how they finish it for you. A stylist with a round brush, a blow-dryer, and forty-five minutes can make almost any haircut look incredible. You, alone in your bathroom on a Tuesday with seven minutes before you need to leave, will get a very different result from the same cut if it wasn’t designed for how you actually dry your hair.
Before your appointment, be honest with yourself about your real routine. Do you blow-dry? Do you air-dry completely? Do you diffuse? Do you basically towel-dry and go? There is no wrong answer. But the cut needs to be built for your answer, not your best-case scenario answer.
If you air-dry, you need a cut with enough internal texture and movement that it looks intentional when it dries naturally — not limp, not frizzy at the ends, not heavy at the bottom. That means weight removal inside the mid-lengths (back to Step 4) and a perimeter shape that doesn’t collapse when it’s not blow-dried into shape. If you do blow-dry but only roughly — a quick pass with a brush — you need a cut that responds to minimal manipulation. That usually means some graduation at the back and soft layers rather than very heavy, blunt ends.
Write down your real routine. One honest sentence. You’ll say it out loud in Step 7.
Step 7: Telling Your Stylist All of It
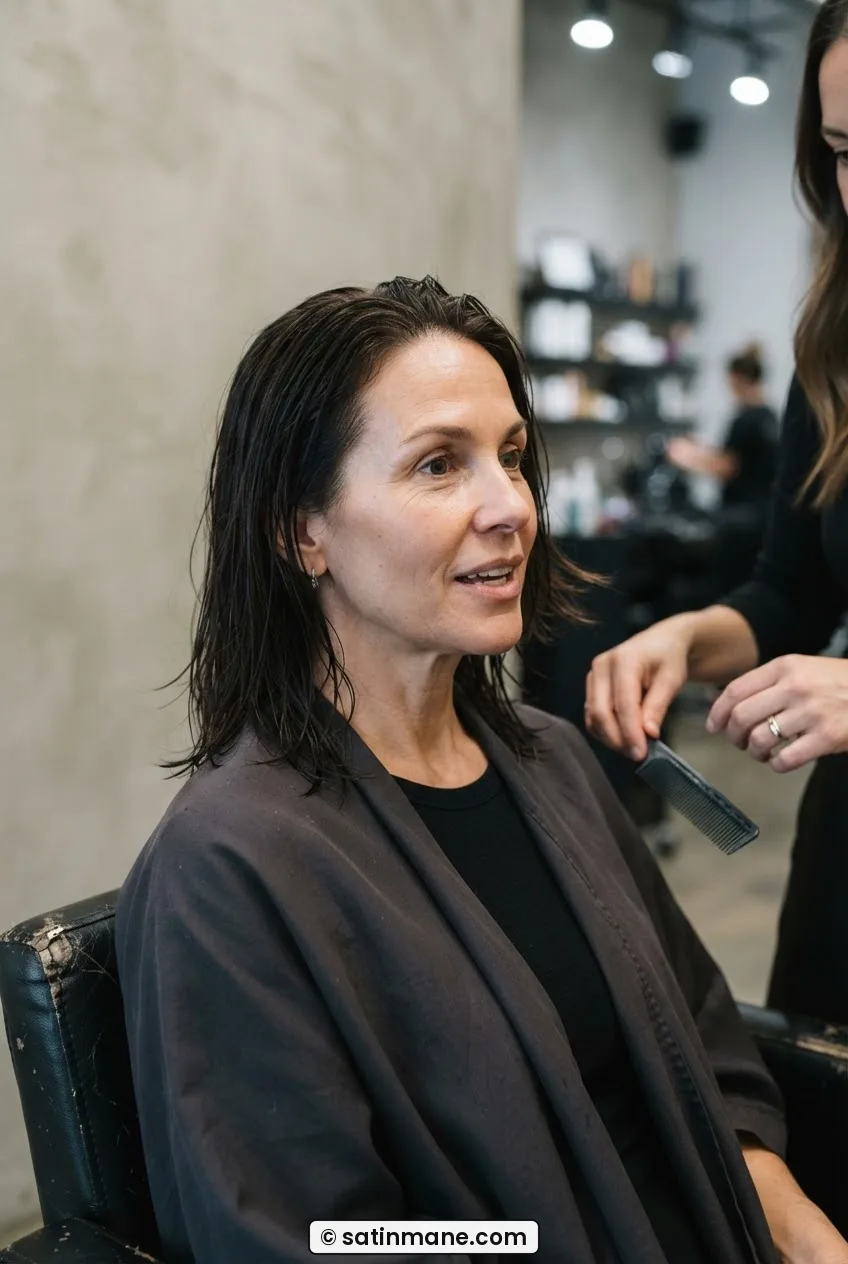
Now you have everything. You know your face shape and where your widest point is. You know the length line that works on you. You know what’s happening at your crown, where you want weight removed, what angle of face-framing helps you, and how you actually dry your hair. This is the conversation that actually gets you the right haircut.
Here’s a script you can adapt. I’ve used versions of this myself and it consistently gets me cuts I actually love:
“My face is [wide at the jaw / round / square-ish]. I want length that hits below my jaw — maybe [X] inches. I need more lift through the crown because it goes flat. I want weight taken out of the interior mid-lengths, not the tips, so it moves without losing the shape. My face-framing pieces need to angle past my jaw, not end at it. And I air-dry / rough blow-dry / fully blow-dry, so it needs to work with that.”
That’s the whole thing. Six sentences. A mistake I made for years was saying “I want it to look younger” and leaving it at that — which tells a stylist almost nothing technically actionable. They can’t cut ‘younger.’ They can cut ‘more lift here’ and ‘less weight there.’ Give them the technical version, not the emotional one.
If you want to go in with extra confidence, it also helps to read up on talking to your stylist before the appointment — not just about technique, but about the vocabulary that translates your vision into something cuttable.
What It Looks Like When It Goes Wrong
Even with a perfect brief, things can go sideways. Knowing what to look for means you can catch it during the cut rather than in the car park afterward.
The most common mistake I’ve seen (and had done to me) is weight removed at the wrong section. If the stylist takes weight from the surface layers — the very top of the hair — instead of the interior, you get a cut that looks fluffy and disconnected rather than soft and moveable. It tends to look bigger, not lighter. Watch where the scissors are working. Interior weight removal means the stylist is working inside the hair, lifting sections and cutting beneath the surface layer, not snipping along the top.
The other thing that can go wrong is face-framing pieces that land exactly on the jaw rather than past it. If you see that happening, say something mid-cut. “Can we take those front pieces just a little longer — I want them to fall below my jaw, not at it.” Stylists appreciate the feedback in the moment. It’s much easier to fix than after.
And if you have a rounder face shape, be especially watchful about volume at the sides — a haircut that’s too wide through the mid-lengths effectively creates horizontal width right across your cheekbones and jaw. More on that over at the detailed breakdown of short haircuts for round faces, which covers exactly which shapes add and which subtract that horizontal weight.
How It Behaves on Day Two and in Week Seven
Day two is the real test. The first day you leave the salon, your hair has been blow-dried to within an inch of its life and it looks exactly right. The second morning, after sleeping on it and washing it yourself, is when you find out if the cut actually works.
A cut built with proper interior weight removal and the right face-framing angles will air-dry on day two with movement and shape. It won’t look styled, but it’ll look like you — in a good way. The pieces near your face will fall where they’re supposed to. The crown section will sit with some natural height. If your day-two hair is collapsing flat, going limp at the perimeter, or puffing sideways at the temples, those are usually signs that the weight distribution isn’t quite right — and worth flagging at your next appointment.
Week seven is where most cuts lose their shape. A well-built cut should still be recognizable at week seven, maybe week eight. It’ll be grown out — the ends softer, the layers slightly merged — but the underlying shape should hold. If it’s completely shapeless by week five, the cut was probably too one-dimensional to begin with: either too blunt with no internal movement, or too heavily layered to retain structure as it grows. That’s useful feedback for next time. I try to go every eight to ten weeks, which keeps things manageable without making the salon feel like a monthly obligation.
Questions I Get About This
Does a fringe help you look younger?
Sometimes, but it depends entirely on your forehead and your upkeep tolerance. A soft, slightly side-swept fringe can draw attention away from fine lines across the forehead and give your face a fresh focal point. But a blunt fringe that needs trimming every three weeks is a commitment — and when it grows out awkwardly, it can actually make you look more tired, not less. If you want a fringe, ask your stylist for a longer, curtain-style version that has a longer grow-out runway.
What’s the best length for looking younger over fifty?
There’s genuinely no single answer — but the chin-to-collarbone range consistently performs well for most face shapes in this age group. It’s long enough to frame the neck and jaw without looking matronly, short enough to have movement and not drag the face down with weight. Very long hair can absolutely look incredible over fifty, but it needs to have internal layers and movement — a long, blunt, one-length cut tends to look heavy and pulls the face downward as hair density changes with age.
Can I ask for a younger-looking cut if I have fine hair?
Yes — and the approach is slightly different. With fine hair, you want to be careful about over-layering, which can make thin hair look even thinner and wispy. Instead, ask for weight removal through point-cutting at the tips (which adds texture without removing mass) and a perimeter that’s slightly blunted rather than heavily feathered. A small amount of graduation at the back also helps fine hair look denser. You can find more specifics across a few hair-type guides if you reach out — feel free to get in touch and I’ll point you to the right ones.
How do I know if my stylist understood what I asked for?
Ask them to repeat it back to you before they pick up the scissors. A good stylist will do this naturally — they’ll say something like “So you’re after more lift through the crown, face-framing pieces past the jaw, and nothing too blunt at the ends?” If they skip straight to sectioning without confirming, it’s completely fine to pause and say “Can you tell me what you’re thinking before we start?” It feels awkward the first time. It stops being awkward the moment it saves you from a bad cut.
Do I need to go to a more expensive salon for this to work?
No — but you do need a stylist who listens and has some technical vocabulary. The method I’ve described here works at any price point, because the result depends more on what you say than on the salon’s postcode. A mid-range stylist who understands weight distribution and face-framing angles will outperform an expensive one who just executes trends without thinking about your specific face. Ask questions in the consultation. Their answers will tell you quickly whether they’re the right fit.
I walked out of my last appointment with something that genuinely looked like a haircut to look younger — not because it was a trendy cut or a dramatic change, but because for the first time I’d given my stylist something real to work with. Lift through the crown. Weight out of the interior. Face-framing past the jaw. Air-dry routine declared upfront. The cut held its shape until week nine, moved on day two, and didn’t require a round brush to look intentional. That’s the whole win. If you want to dig into more of the principles behind this, there’s a lot more where this came from over at Satinmane.com — it’s where I keep going back when I’m trying to figure out what to ask for next.