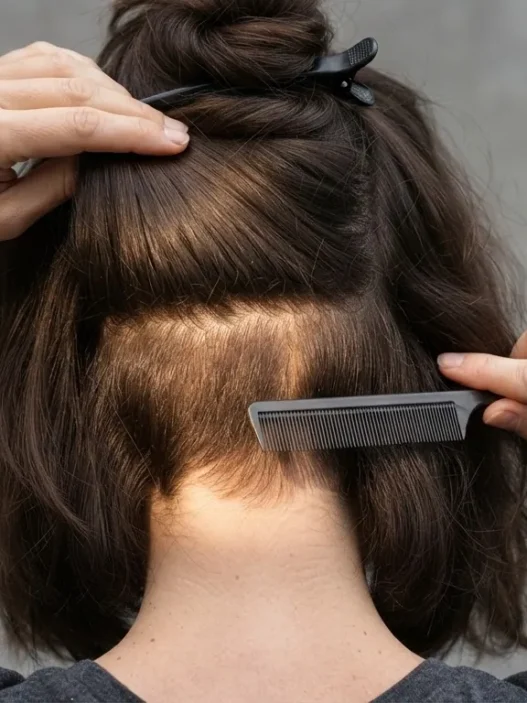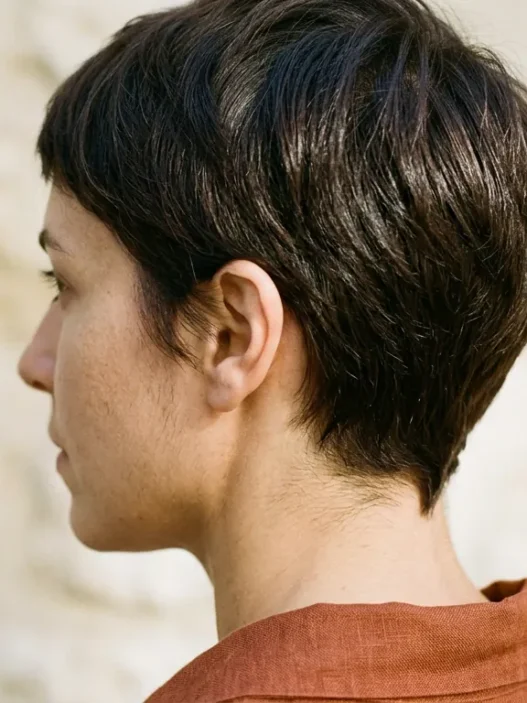













I have mid-length hair that used to dry flat no matter what I did. Not a little flat — pancake flat. I’d watch tutorials where someone ran a round brush through their hair and somehow ended up with a bouncy blowout, and I’d reproduce every step and wind up with nothing. It took me embarrassingly long to figure out that I was doing three specific things wrong, all of them invisible in standard tutorials. This is the method I eventually worked out, and I wrote it for someone doing this alone at a bathroom mirror with one hand free and no second pair of eyes.
Your Roadmap to Real Root Lift
- What You’ll Need
- Step 1: The Towel-Dry That Sets Everything Up
- Step 2: Applying Heat Protectant Without Weighing Hair Down
- Step 3: Sectioning the Crown
- Step 4: Lifting the Root — Direction and Hand Position
- Step 5: Drying the Mid-Lengths Without Losing the Lift
- Step 6: Where the Weight Comes Out
- Step 7: The Cool Shot and Setting the Shape
- What It Looks Like When It Goes Wrong
- How It Behaves on Day Two and Week Seven
- Questions I Get About This
What You’ll Need
Nothing exotic. You probably have most of this already. The nozzle attachment is the one people lose and never replace — go find it now before you start.
- A dryer with a concentrator nozzle attached (non-negotiable)
- Medium or large round brush — 40mm if your hair is fine, 50mm+ if it’s thicker or longer than collarbone length
- Clips — the flat sectioning kind, at least four of them
- A light volumising spray or mousse applied to damp hair (not wet, not dry — damp)
- A heat protectant that doesn’t leave a coating you can feel
- Optional: a small boar-bristle brush for smoothing the ends in the last step
On the volumising product front: I’ve tried almost every category and I keep coming back to a lightweight mousse applied sparingly to the roots only. Anything applied root-to-tip on thick or medium hair just adds weight and undoes the whole point. If you want to understand how volumising products actually work relative to hair weight, it’s worth a quick read before you shop.
Step 1: The Towel-Dry That Sets Everything Up
This is the step people rush and it costs them everything downstream. Your hair needs to be about 70% dry before the brush comes near it — not wringing wet. If you blow dry soaking hair, you spend the first ten minutes just getting the water out and the hair never develops any memory. It just dries wherever gravity puts it.
Squeeze — don’t rub — with a microfibre towel or an old cotton t-shirt. Rubbing creates frizz and also disrupts the cuticle direction, which matters later when you’re trying to get a smooth finish over your volume. Flip your head forward and scrunch upward, then gently press sections against your scalp. Spend two full minutes doing this. It’s boring. Do it anyway.
When the ends stop dripping and your roots feel damp rather than wet, you’re ready. This usually takes about 70-80% of the time people actually give it.
Step 2: Applying Heat Protectant Without Weighing Hair Down
Spray the heat protectant onto your hands first, rub them together, then rake through the mid-lengths and ends. Skip the roots. The roots are where your volume lives, and coating them with product is how you accidentally flatten everything before the dryer even turns on.
Then — and this is the part I missed for an embarrassingly long time — apply your volumising mousse only to the root area. Use maybe a golf-ball size of mousse, rub it between palms, and work it into the roots with a scrubbing motion, lifting the hair away from the scalp as you go. You want to feel the roots standing slightly away from your head even before drying starts.
Now comb through once with a wide-tooth comb to detangle, and you’re ready to section.
Step 3: Sectioning the Crown
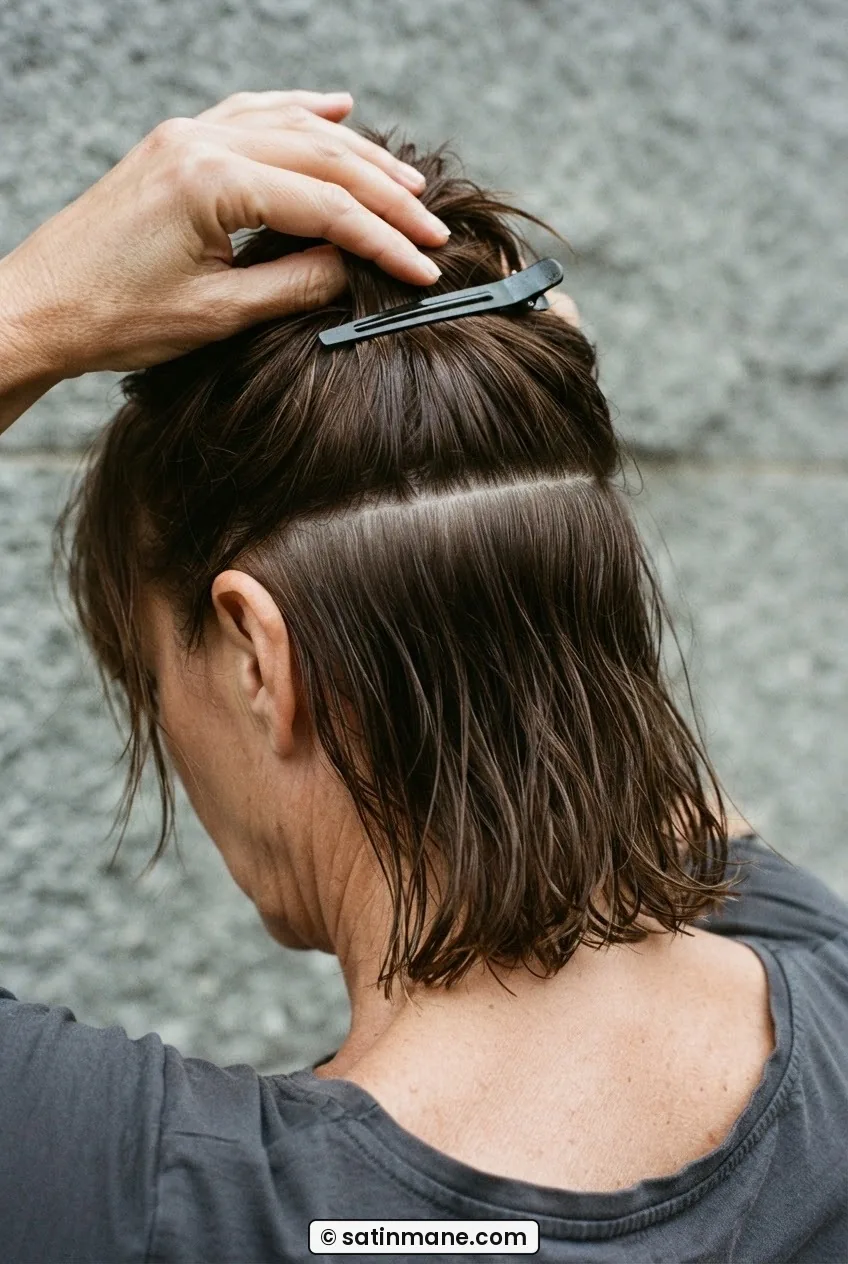
This step is where the real work starts, and it’s the one most people either skip entirely or do too loosely. Sectioning isn’t just organisational tidiness — it’s the mechanism that lets you direct airflow and tension to specific areas without the rest of your hair getting in the way.
Start by clipping everything up except the bottom layer — roughly the hair from your ears downward. Then separate a horizontal section at the crown, about 2 inches wide and extending from ear to ear. Clip the rest up. This crown section is the most visible and the most structurally important for volume, so you’re doing it first while the dryer is at its hottest and your arms aren’t tired yet.
Look at how she’s working here — see the way that crown parting sits just behind the hairline? That’s the zone that controls how lifted the whole style looks. Too far forward and you dry down the front where you don’t need lift. Too far back and you miss the area that shows.
Each section you release should be no thicker than your finger can comfortably wrap around a round brush. Thicker than that and the inside of the section stays damp while the outside dries — and that means the outside sets with no tension, no direction, just ambient heat. Which is why people end up with volume that collapses within an hour.
Step 4: Lifting the Root — Direction and Hand Position
This is the step most people skip — not because they don’t know about it, but because they do it halfway and don’t understand why it isn’t working.
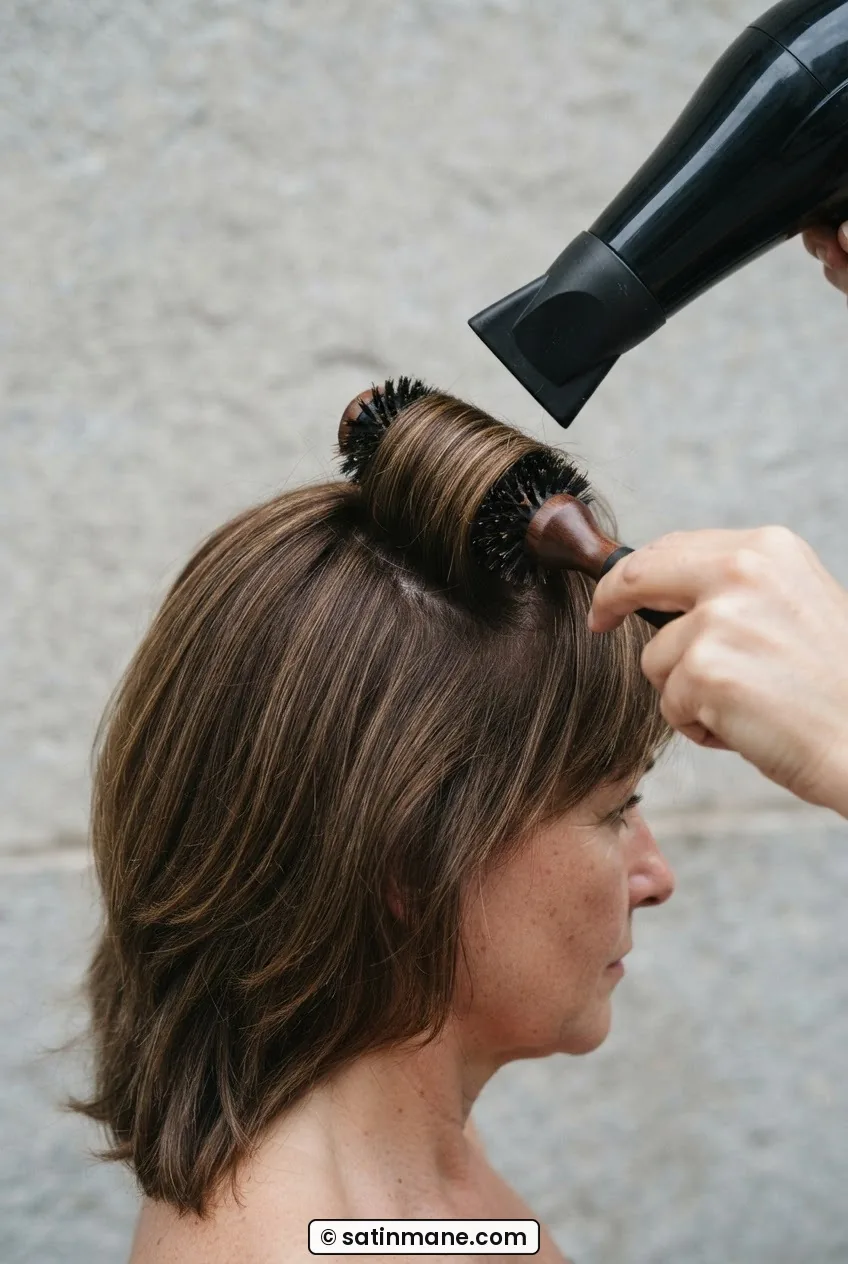
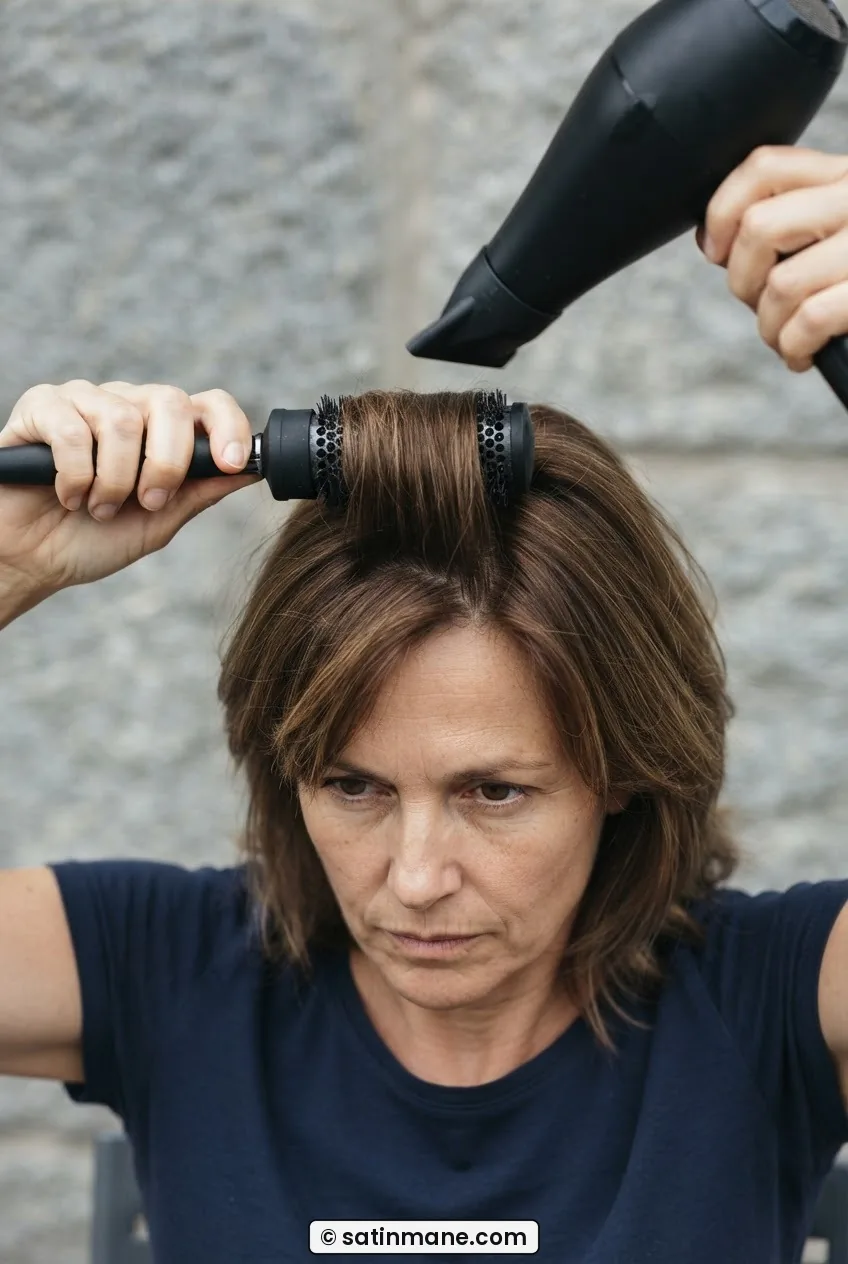
Take your crown section. Place the round brush underneath it, right at the root, about half an inch from the scalp. Now: the brush needs to be held at 90 degrees from the head — straight up, not angled back, not at a gentle slope. Straight up. The nozzle of your dryer points at the root from above, also angling toward the scalp at roughly 45 degrees downward — not blowing straight across, and not pointing straight down. The angle matters because you’re directing air under the section, not over it.
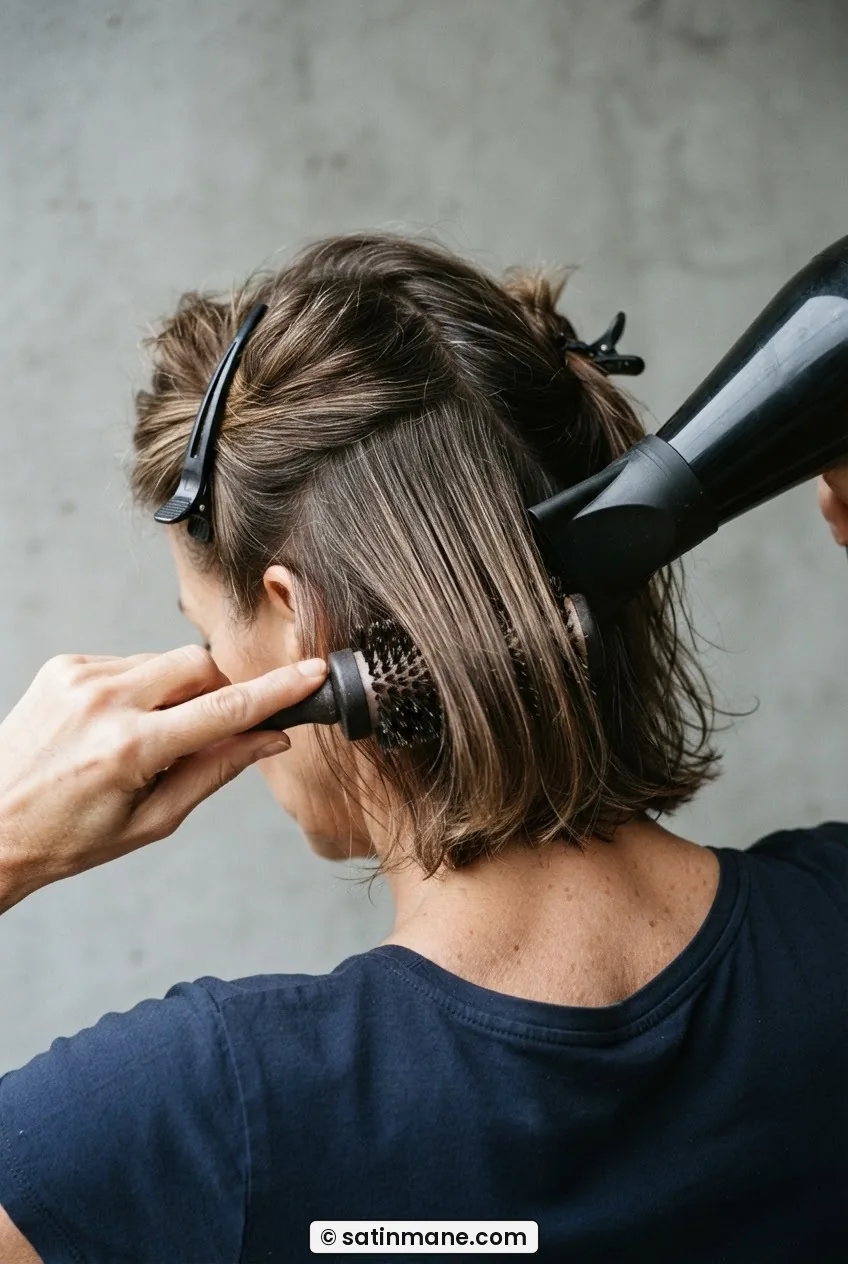
Hold this position — brush at 90 degrees from scalp, dryer angled in from above — for a slow count of eight. Don’t rush. You’re not just drying; you’re setting the hair’s memory into a lifted position while it’s still warm and pliable. When you release the brush and section, that root should stay up on its own. If it flops immediately, the section was too thick, too wet, or you didn’t hold long enough.
One hand holds the brush handle from below with your wrist slightly supinated — palm up-ish. Your other hand holds the dryer. If you can only free one hand because you’re propping yourself against something, hold the dryer and use your fingers instead of a brush for this first pass. Less smooth, but the lift still works.
Mistake I made: I kept pointing the dryer nozzle sideways across the root section, like I was drying a wall. The air was passing over the top of the hair, pressing it down onto the brush, not getting underneath it. The fix was pointing the nozzle in from above at an angle — suddenly the hair actually lifted. It sounds obvious now. It cost me two years of bad blowouts.
Step 5: Drying the Mid-Lengths Without Losing the Lift
Once the root of a section is set, slide the brush down to the mid-lengths and work your way to the ends. Keep the tension. Slack tension = frizz and undefined ends. The brush should be rolling slightly as you pull down — not dragging flat, but rotating just enough to wrap the hair around it as you go.
The dryer follows the brush down toward the ends, nozzle pointing downward along the hair shaft. This is the direction that closes the cuticle and gives you shine. If you’re blasting air upward at the mid-lengths, you’re lifting the cuticle and creating frizz, which is the thing most people are trying to avoid in the first place.
Work your way through the crown section first — each 1-inch sub-section gets root lift, then a smooth pull to the ends. Then release the next layer down and repeat. Bottom layer, mid layer, crown. That order matters because each lower layer, once dry, gives a stable base for the next layer to sit on.
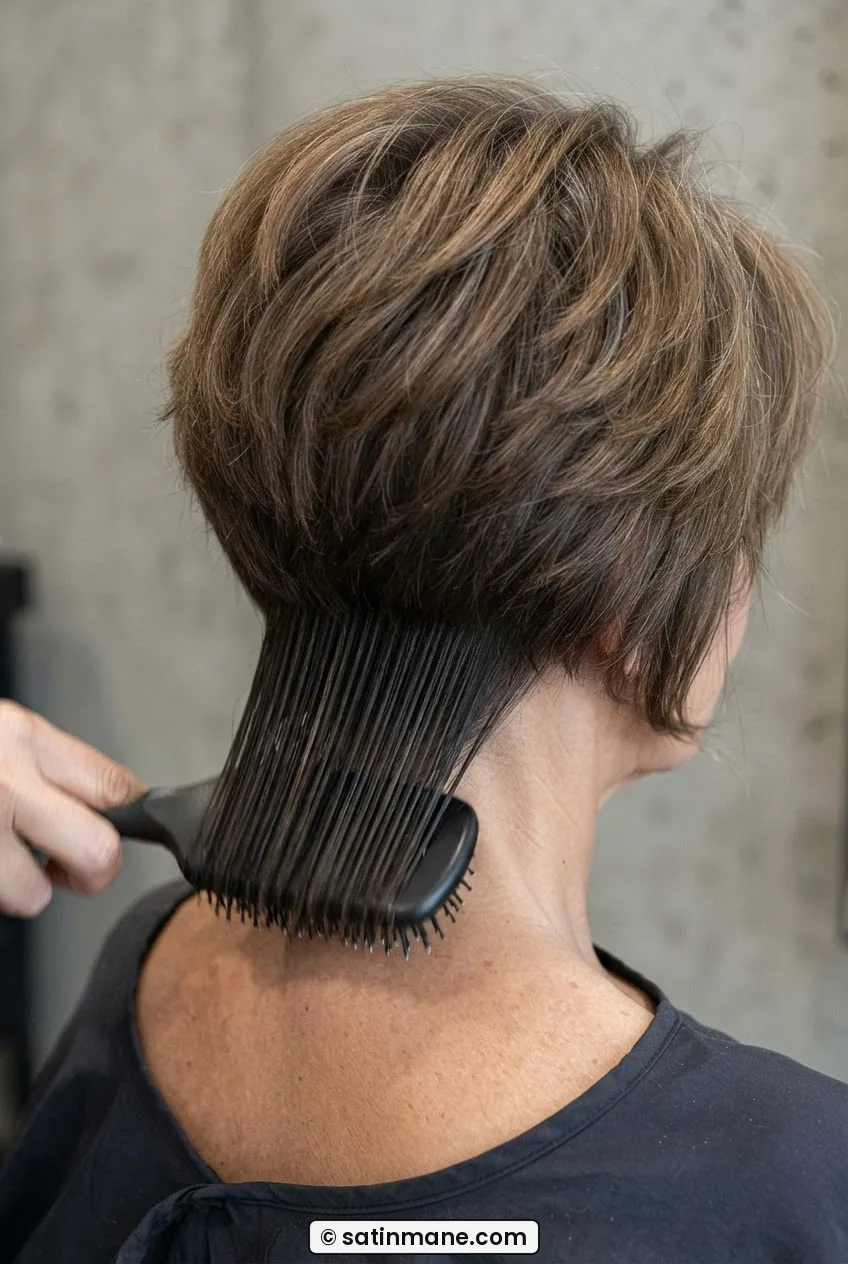
If you have a genuinely low-maintenance cut with good internal layering, this whole process gets faster — the layers naturally want to lift, and you’re just helping them along rather than fighting the weight of a blunt perimeter. It’s one of the more underrated arguments for getting a proper layered cut if you’re serious about volume.
Step 6: Where the Weight Comes Out
By the time you reach the bottom section — the first layer you unclipped — it should already be at least 80% dry just from the ambient heat of working above it. Good. This means you only need a quick pass to smooth and direct it, not a full root-to-end drying session.
This is the layer where the weight of your hair sits, and it’s the layer that works against volume if you let it pull downward and drag on the layers above. The goal here is to dry it smooth and inward or straight — not outward, not with extra body. You want this layer controlled and close, so it acts as a clean base and doesn’t compete with the lifted crown for visual weight.
Use a flatter brush or even your fingers for this layer. Roll the ends under very slightly if you want them to turn in. If your hair is thick, you might find that understanding interior weight removal is genuinely life-changing here — the right cut architecture cuts your actual drying time and lets the bottom layer do almost nothing on its own.
People with shorter cuts — if you’ve been looking at hairstyles for short hair and wondering if any of this applies — this step is actually more important, not less. The bottom layer on a shorter cut is close to the nape, which is where a lot of fullness reads on the back of the head. Don’t ignore it.
Step 7: The Cool Shot and Setting the Shape
The cool shot button exists for one specific reason: it locks the hair’s cuticle in the shape it’s currently in. Hot air keeps the hair pliable and moveable. Cold air closes it down. If you turn off the dryer without cooling, the residual heat continues to move the hair as it cools naturally — and naturally usually means downward, which undoes some of your lift.
Work section by section again. Hold the brush at the root in the lifted position you created in Step 4. Hit the cool shot for five to eight seconds per section. Release. The hair should stay exactly where you placed it.
After the cool shot, run your fingers through the crown lightly — not raking, just lifting and separating slightly. This breaks the slightly-too-uniform look that a round brush can create and makes the volume look less “done” and more like your hair just does this. Then flip your head forward, give three or four gentle shakes, flip back. You’ll see the crown volume redistribute into something that looks completely natural.
If you want to use a light-hold spray, this is the moment — one pass from eight inches away, moving. Not a cloud you walk into. One moving pass.
What It Looks Like When It Goes Wrong
The most common failure is sections that are too thick. You can tell because the hair looks volumised on the outside but flat and almost damp-looking underneath. The fix is always the same: thinner sections. It takes longer, but you can’t compress time on this one.
The second failure is roots that look crispy or over-worked. This happens when you hold the dryer too close (less than four inches) for too long. The root gets hot fast, and if the brush is pressing against the scalp, you’re essentially heat-styling the root without tension — which creates a weird frizzy halo at the parting. Keep the dryer four to six inches away and keep it moving.
Third: volume that’s all in one spot. Usually the very top, at the parting. This happens when people do one or two sections in the crown and then stop. The crown section needs to go ear to ear — not just the middle strip. If you only do the part you can easily see, you end up with a bump at the parting and flat hair behind it.
Fine hair has its own failure mode, which is over-drying into brittleness. If you have fine hair and want actual structure, the answer is often a different cut rather than more product and more heat. The bob hairstyles for fine hair worth asking for are specifically the ones where the shape does the heavy lifting, not your arm strength. And if you’re working with a very short cut, a well-executed pixie cut for fine hair can give you volume that’s literally built into the structure of the cut itself — the blow dry becomes a five-minute touch-up rather than a full session.
How It Behaves on Day Two and Week Seven
Day two is honestly when this style looks best. The roots have relaxed out of any stiffness from the mousse, the volume is still sitting where you put it, and the whole thing has a naturalness that’s hard to achieve fresh off the dryer. If your hair is on the oilier side, a tiny amount of dry shampoo worked into the roots (not sprayed directly onto them — into them, with your fingers) refreshes the lift without adding any weight.
Week seven is a different story, and it’s relevant to talk about because this is where the haircut itself starts to matter more than the technique. Around week six to eight on a layered mid-length cut, the layers start to grow into each other and lose their separation. The volume that was easy to create in week two requires noticeably more effort in week seven because the hair’s weight distribution has changed. This isn’t a technique problem — it’s a trim problem. If you’re finding the method suddenly requires twice the effort, that’s your hair telling you something.
For anyone with shorter cuts working around a round face shape, the week-seven problem can actually work in your favour — a little extra length in the right areas softens rather than shortens, if the grow-out is happening in good proportion. But mid-length cuts are less forgiving of grow-out, especially around the face-framing layers, so I’d book that trim at the six-week mark rather than waiting.
Questions I Get About This
Does this work on curly or wavy hair, or only straight hair?
This specific method is designed for achieving a lifted, smoother blowout — so it works best on straight to wavy hair. If you have curly hair and want volume without straightening it, the process is genuinely different: diffusing, not directing, is the mechanism. That said, the sectioning principles and the cool-shot step apply to almost any texture.
My hair is thick and takes forever to dry — does this method help with that?
Yes and no. The thin-section approach actually slows you down initially because you’re doing more individual passes. But the payoff is that each section dries completely and sets properly, so you’re not re-doing sections or fighting collapse later. The real drying-time solution for thick hair is cut architecture — specifically, interior weight removal — which lets air move through the hair rather than getting trapped by density. It’s worth asking your stylist about this at your next appointment if drying time is a genuine issue. Interior thinning conversation can help you frame that conversation if you’re not sure what to say.
How long does this whole process actually take?
For a mid-length layered cut at medium density: about 20-25 minutes the first few times, dropping to 12-15 minutes once the sectioning pattern becomes second nature. Fine hair at the same length takes closer to 10-12 minutes. Thick or long hair will take longer — the sections have to stay thin regardless of density, so there are simply more of them.
Can I get the same root lift without a round brush?
Honestly, yes — if you’re willing to work in even thinner sections and use your fingers to hold the root up while you direct the dryer underneath. It requires more coordination and your arms will be more tired, but the mechanism is identical: get air under the root while it’s warm, hold it there until it cools. The brush just makes that easier to sustain for a count of eight per section.
My hair has looked better in the past six months than it did in the previous six years. That sounds ridiculous but it’s true. The whole thing came down to section thickness, dryer angle, and actually using the cool shot. I spent the whole first week convinced I was doing too many small sections and cutting corners — turned out I wasn’t doing nearly enough of them. Stick with the method. The tedious part is what makes it work.