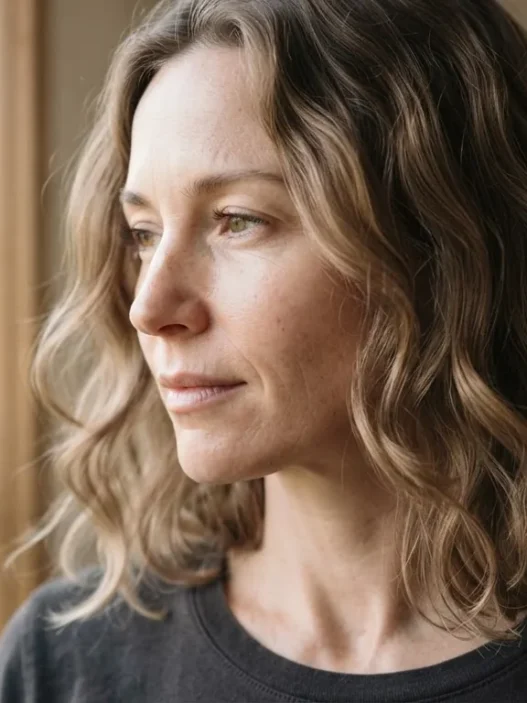











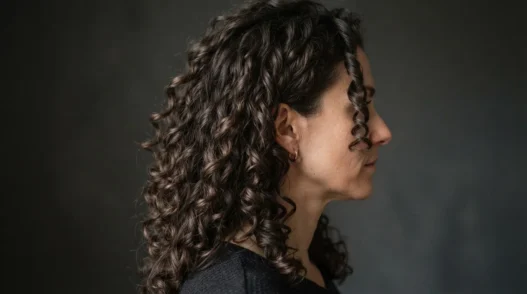
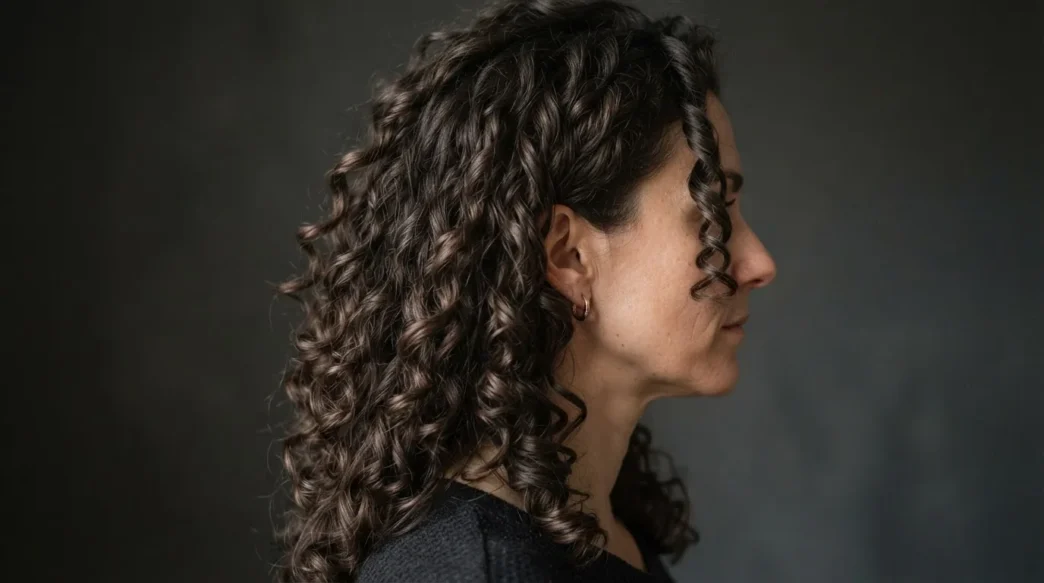
I had about four inches cut off my long curls by someone who wetted them completely flat before touching the scissors — and when they dried, the shortest layer sat at my chin while the rest hung somewhere around my ribs. The unevenness wasn’t obvious at first. It announced itself on day three, in fluorescent supermarket lighting, when I caught my reflection and just stood there holding a bag of onions. That was the moment I started researching the dry cut method, specifically how to grow the damage out without losing more length in the process.
Your Roadmap to Growing Out a Wet Cut
What You’ll Need
Before anything else, gather everything so you’re not rummaging mid-process with damp hands and product on your fingers. This is the full list — nothing exotic.
- Sharp haircutting scissors (not craft scissors, not kitchen scissors — proper ones with both finger holes intact)
- A wide-tooth comb or Denman brush for detangling before the cut
- Your usual curl-defining cream or gel — something that clumps your curls predictably
- Sectioning clips, at least six
- A handheld mirror for checking the back
- Good natural light — a window, not overhead bathroom lighting
- A spray bottle of water with a tiny amount of conditioner mixed in (just enough to re-activate curl memory without fully wetting the hair)
- A second person, ideally — not essential, but checking your own back sections without help is genuinely hard
One thing I’d add: do this on a wash-and-go day, not on day-three hair. You need your curls to be doing their natural thing, clumped the way they actually live, not propped up by old product or deflated by too many sleeps on them.
Step 1: Working Dry
The single most important decision in this whole process is the one you make before the scissors even come out: do not wet your hair. Not damp. Not towel-dried. Fully, completely, air-dried and styled the way you’d wear it on any normal day. This is what separates a dry cut from every wet cut that has ever left someone with an unexpectedly short layer.
When curly hair is wet, it can stretch to twice its dry length — sometimes more, depending on the curl pattern. So a wet cut that looks even in the mirror becomes uneven the moment the hair contracts. Your stylist wasn’t necessarily careless. They just couldn’t see what the curl would do when it dried. Working dry means what you cut is what you get. No surprises.
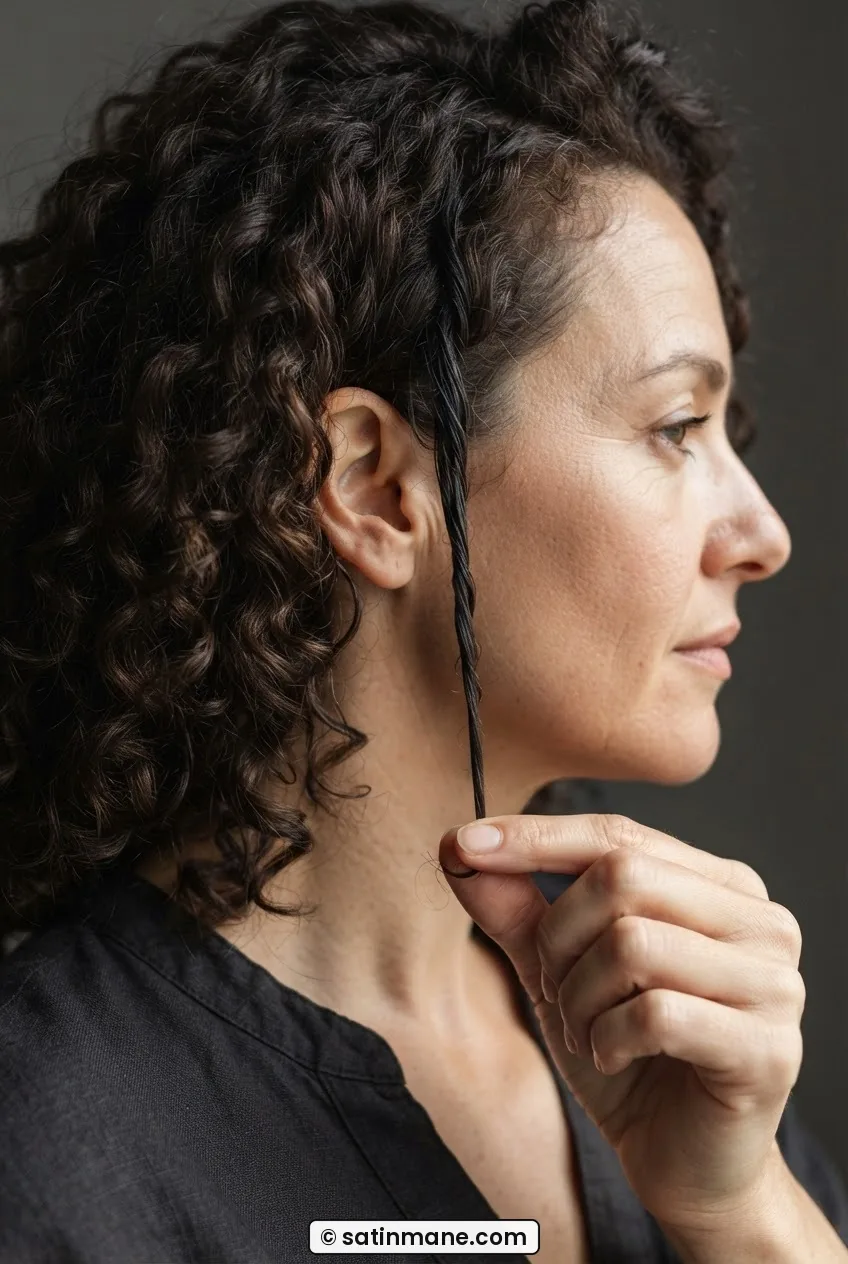
Style your hair exactly as you normally would — apply product, scrunch, leave it. Let it air-dry completely before you do anything else. This might take two hours if your hair is thick. That’s fine. Patience here saves you from a second round of regret.
Step 2: Reading the Shrink
Once your hair is dry, stand in front of a good mirror in natural light and actually look at it. Not at your overall shape — at individual sections. Where does the wet cut damage show? It usually appears as a layer that springs up shorter than everything around it, or as a blunt perimeter that doesn’t match the volume of the curl above it.
The key thing to map before you touch anything is your personal shrinkage ratio. Pull one dry curl straight down and measure it. Then wet just that one curl and measure it stretched. The difference is your shrinkage. Mine is about 40%, which is fairly average for a 3A pattern, but I’ve seen 3C curls shrink by over 60%. Understanding your own number tells you exactly how much length the wet-cut stylist thought they were leaving versus how much they actually left. It’s clarifying. Sometimes infuriating, but clarifying.
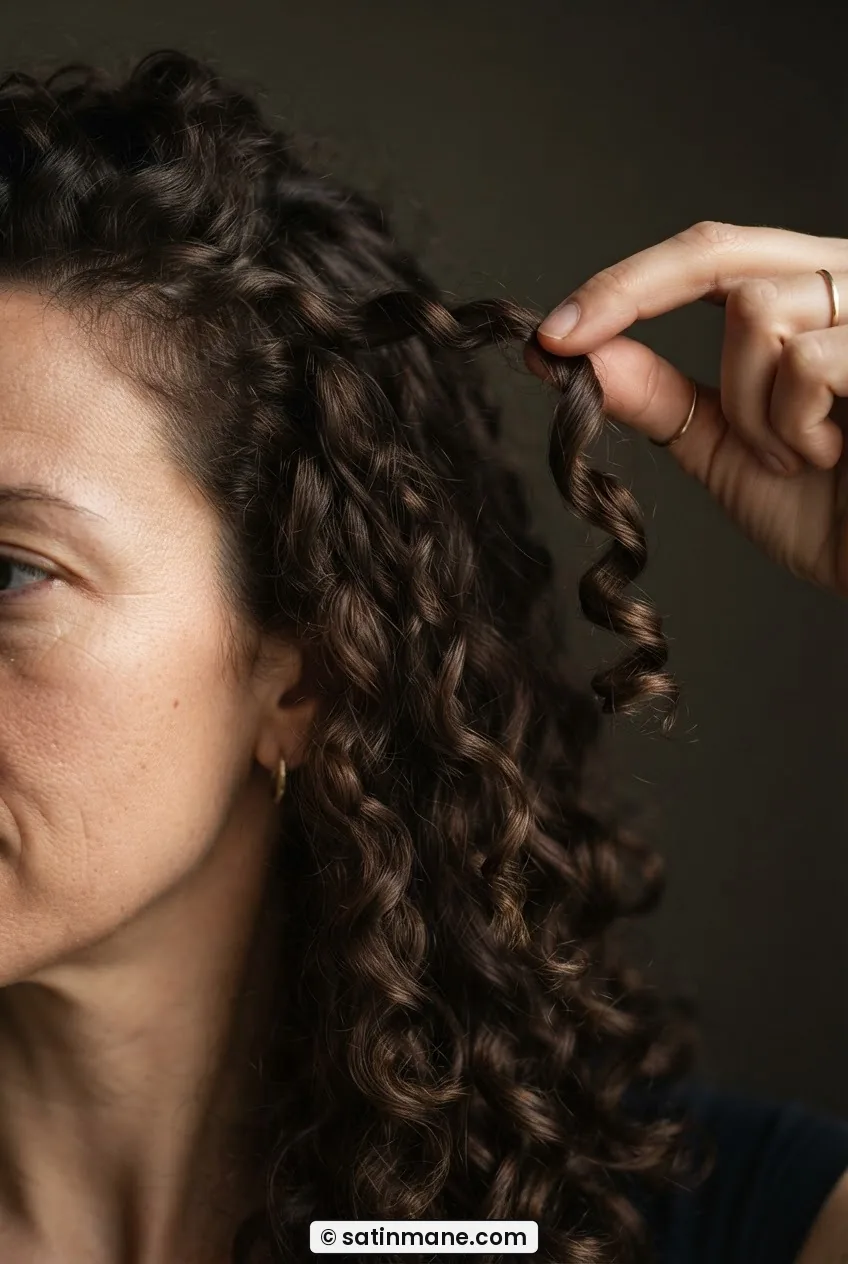
Mark the problem zones mentally — or literally, with a loose clip — before moving to the next step. You’re going to address them clump by clump, not in one sweeping gesture.
The mistake I made at this stage: I tried to fix the shortest layer by cutting the longer sections around it to match. Logical-sounding, catastrophic in practice. I lost about three inches of progress and made the short layer the new baseline for the whole head. The correct move is to leave the short layer alone and only refine the sections that have grown out unevenly around it.
Step 3: Isolating One Clump
This entire method works at the scale of a single curl clump. Not a section. Not a layer. One clump.
Clip everything else out of the way. Pick a clump from the most obviously damaged zone — usually the layer that sprung up shortest. Hold it away from the neighboring curls so you can see exactly where it ends and where the untouched curl beside it ends. The gap between those two endpoints is what you’re working with.
Don’t stretch it. Don’t flatten it. Hold the clump at the angle it naturally falls — which for most long curly hair is slightly forward and down, following gravity. If you pull it taut, you’re back to measuring stretched length, which defeats the whole point. The clump hangs. You observe. That’s all this step is.
The reason for starting here, at one clump, is that long curly hair — especially as it grows out from a bad cut — develops its own micro-geography. Each clump has slightly different density, slightly different coil tightness, and slightly different growth direction. What blends one clump perfectly can create a ledge in the next one. You can read more about how curl pattern affects cutting decisions in this guide on dry cutting curly hair, which changed how I thought about my own texture.
Step 4: Cutting One Curl at a Time
Here it is. The step that actually fixes the damage. And it is slower than anything you’ve done to your hair before.
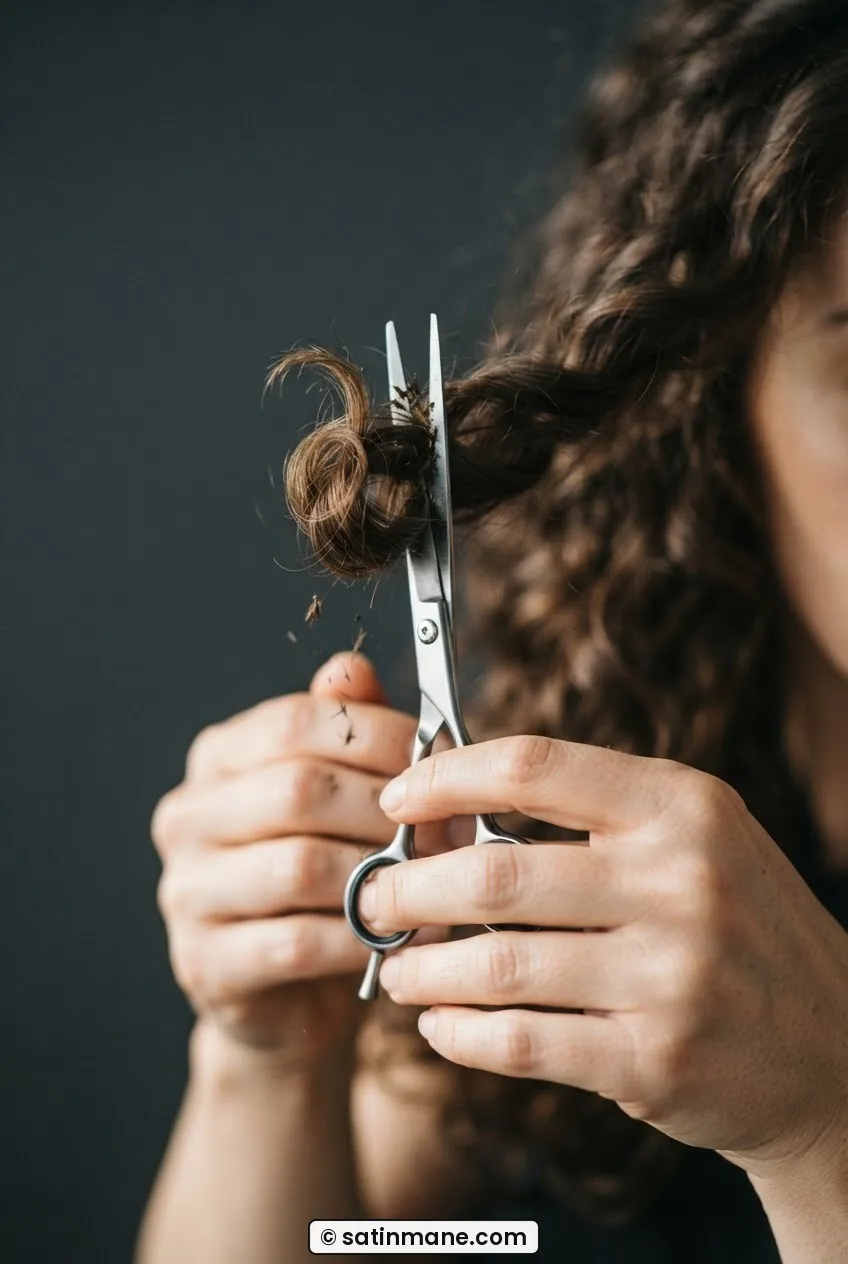
Hold the isolated clump at its natural fall angle — not straight up and not flat against the head, but following its own gravity at whatever diagonal that creates, which is typically 30 to 45 degrees downward from the crown. Let it settle. Then, using the tip of your scissors — smooth cutting scissors, both finger holes visible with your fingers through them, the blades well clear of your face and working only at the hair — point-cut vertically into the very end of the curl. Short snips, pointing the blade upward into the clump rather than cutting straight across. This removes the hard line from the wet cut without reducing overall length.
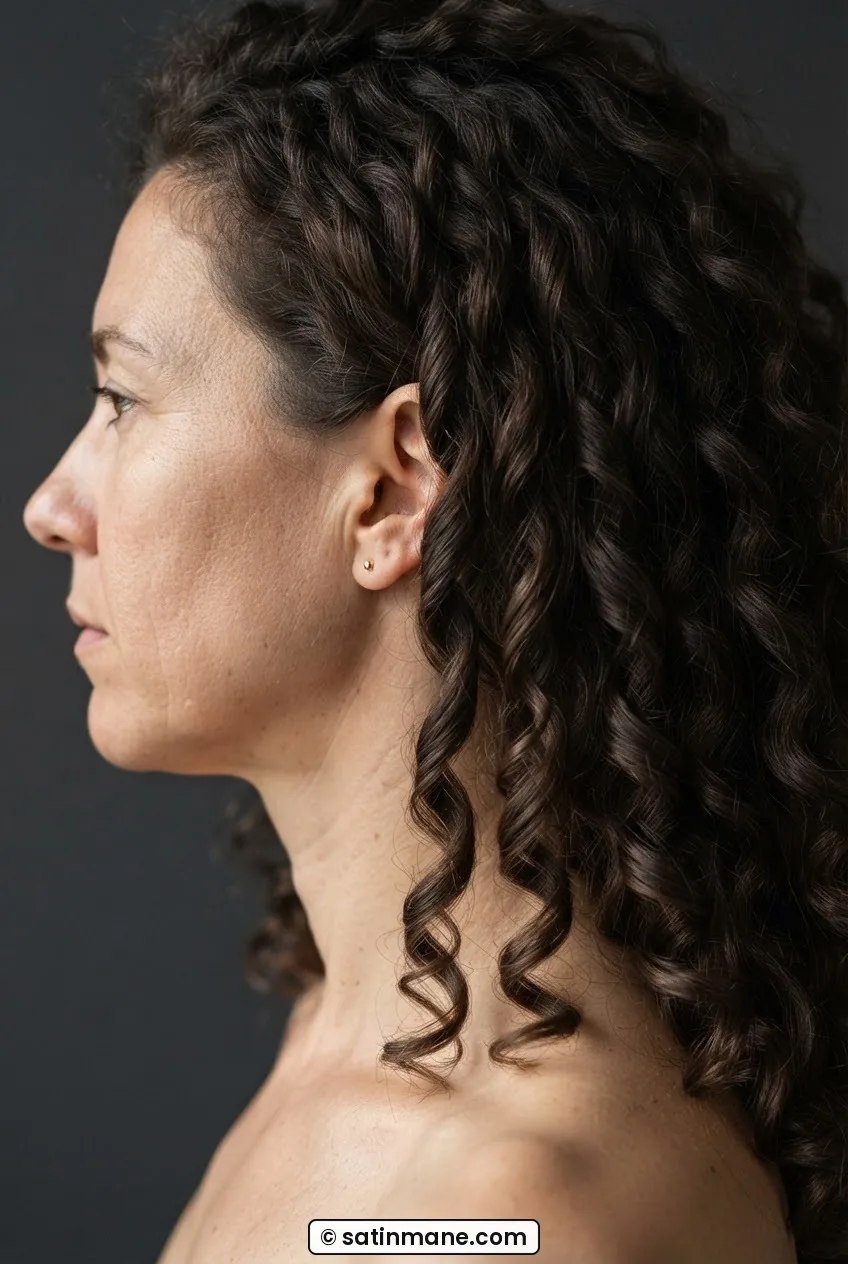
Point cutting into the curl end — not across it — is what allows the clump to move naturally after it’s trimmed. A horizontal cut creates a blunt edge that catches the light and looks chopped. Vertical point cuts disappear into the coil. You’re not trying to even the length at this stage; you’re trying to remove the hard perimeter the wet scissors created and let the curl re-form around a softer edge.
Take off as little as possible. Half a centimeter, maybe a centimeter. Check the clump after two or three snips by releasing it completely and letting it spring back. Does it blend with its neighbor? If not, two more snips. If yes, move on.
This is also the step where understanding your curl type matters most. For tighter coils, the Curly Girl Method approach to curl groupings is useful — it gives you a framework for how clumps naturally want to cluster at different lengths, which affects where the point-cut actually lands.
The Point-Cut Technique Shown in Real Time
Step 5: Checking the Fall
After you’ve point-cut two or three neighboring clumps, stop. Release all of them. Let them fall. Watch what they do.
This is the checkpoint step and it’s non-negotiable. The temptation is to keep going while momentum is with you, but curly hair is deceptive — two clumps that look perfectly matched while you’re holding them can reveal a visible step when they both fall free and interact with each other. You need to see the interaction before you’ve committed to cutting the next five clumps in the same way.
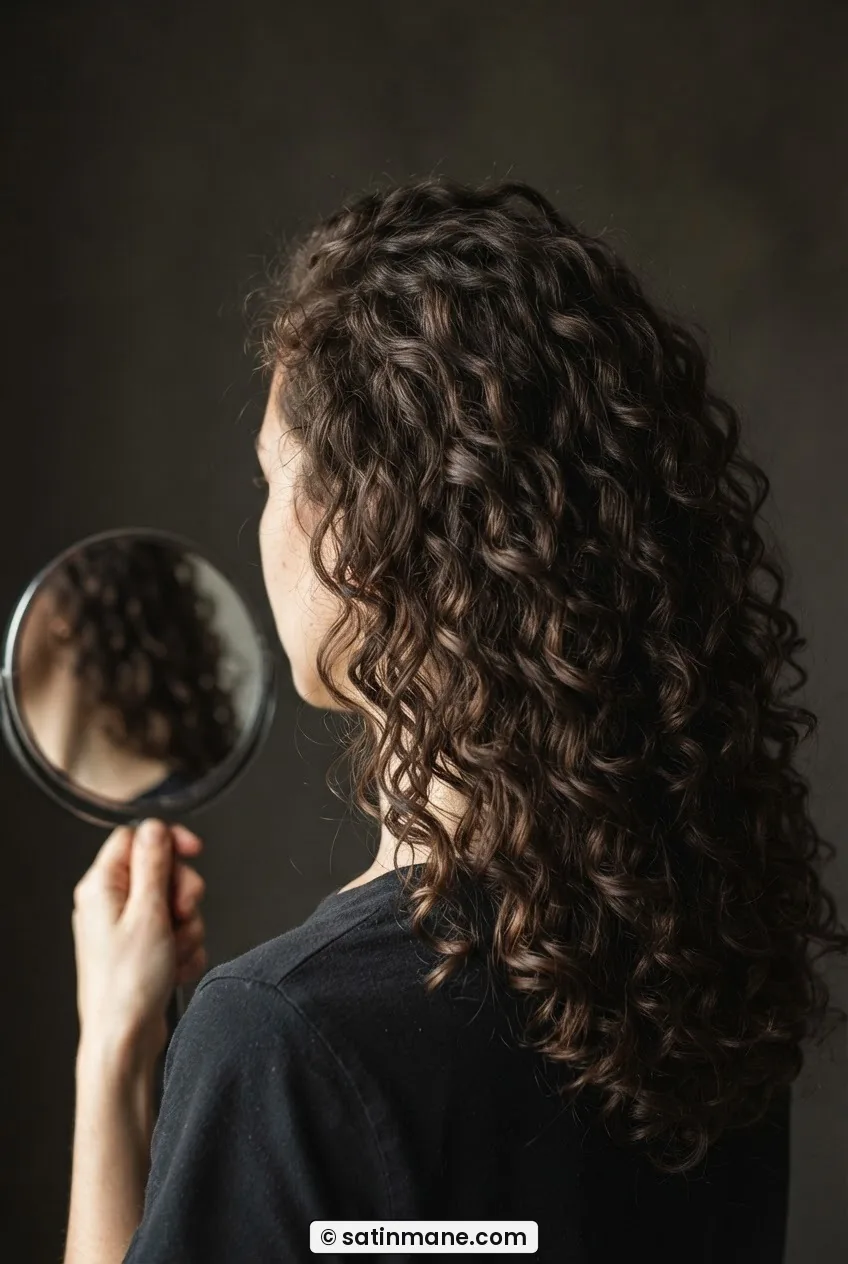
Look at where the clumps land against each other. You’re checking for two things: a visible step (where one clump ends noticeably higher than the adjacent one) and a blending line (where the curl ends merge without a hard edge). If you see a step, address it now with one or two more point cuts on the higher clump. If you see a blend, you’re ready to keep going.
This is also the moment to check the relationship between these front or side clumps and your face. Long curly hair has a natural tendency to frame the face differently depending on where the shortest layer lands — something worth thinking about if you’re also navigating face shape considerations, the way my piece on square face hairstyles covers in terms of how length and movement interact with bone structure.
Step 6: Scaling to the Whole Head
Now you repeat Steps 3 through 5 across every section of the head, working clump by clump from the most damaged zone outward. The standard order is: front sections first, then sides, then the nape, then the crown — but you adapt this based on where the original wet cut created the most disruption.
Keep the clips in place for any section you’ve finished. This prevents the cut clumps from tangling with uncut ones, which creates false blends that disappear the moment you unclip.
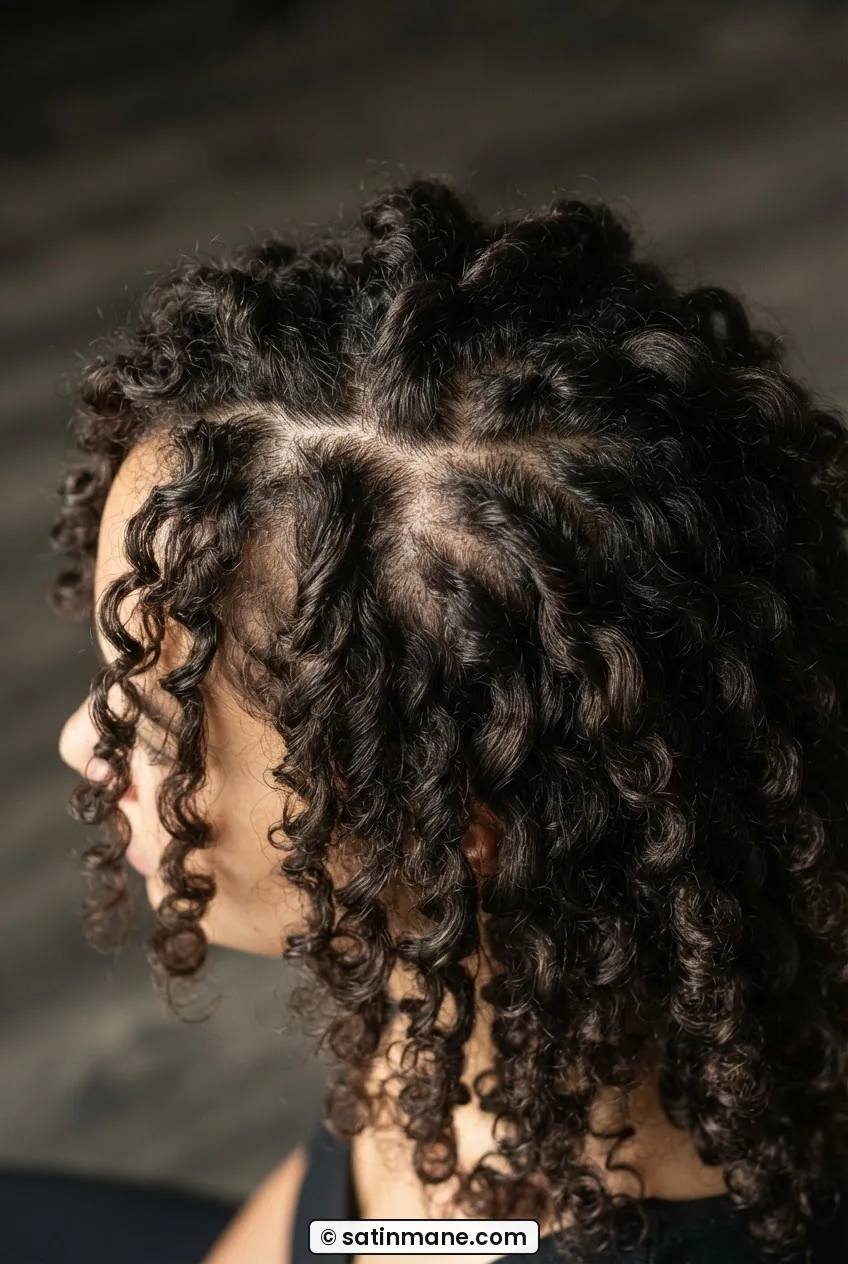
The back is the hardest part. If you’re doing this alone, use the handheld mirror angled toward a wall mirror so you can see behind yourself. Work slowly and check the fall every two clumps — you lose spatial awareness back there very quickly. If someone else can hold the mirror while you cut, take that help. It’s not cheating. It’s just geometry.
One thing worth knowing: if you’re coming from a more dramatic length difference — say, growing out something close to a long curly bob situation where one layer is several inches shorter than the bulk — this process might take more than one session. Cut what you can in one sitting, then reassess in four to six weeks when the short layer has grown another half inch or so. Trying to fix three inches of unevenness in a single afternoon by cutting everything else down is exactly how you end up at a length you didn’t choose.
Similarly, if you’ve been through something like growing out a pixie, you’ll recognize this feeling of managing multiple lengths at once — the patience required is genuinely the same.
Step 7: Where the Scaling Breaks Down
And here is the honest part — the thing most tutorials skip because it complicates the clean ending.
The clump-by-clump method works beautifully across most of the head. Where it starts to fray is at the crown and at the very nape, for different reasons.
At the crown, curl clumps don’t fall with gravity — they fall outward in multiple directions from a central point, which means the “natural fall angle” you’ve been using doesn’t exist in the same way. A clump at the crown falls left when you look at it from the right, and falls differently when you look from above. There’s no single angle that reveals how it’ll interact with its neighbors. The safest approach is to leave the crown completely alone until the rest of the head has been addressed, then look at it last with fresh eyes and only point-cut the very tip of any curl that’s visibly protruding above the rest.
At the nape, the problem is density. Nape curls are often tighter and finer than the rest of the hair, and they clump smaller. Point-cutting them with the same technique can accidentally remove too much and create a bald-looking gap low on the neck. Here, I skip the scissors entirely and use only the spray bottle — a light mist to re-activate any curl that’s lost its shape, and then finger-coiling to encourage it back into the clump pattern. Sometimes the nape just needs hydration, not cutting.
What this method can’t fully solve is a wet cut that removed length uniformly — where the whole perimeter was cut at one length while wet, creating a situation where there’s no longer layer to grow into. That’s a different problem, closer to a full reshape, and it’s worth reading up on growing out curly hair cuts before you decide whether to keep growing or start fresh. Sometimes the honest answer is that you need a professional dry cut to establish a new baseline, and then you maintain it yourself using this method going forward. That’s what I eventually did — and after that, I’ve never let anyone cut my curly hairstyles for long hair with wet hair again.
If you’re also thinking about whether your current length is serving you at all — whether you might actually prefer something shorter while you grow the damage out — my honest take on what nobody tells you about short hairstyles might be worth a read before you commit either way. And if a bob is tempting you as a reset option, the guide to low-maintenance bob haircuts covers which bob shapes actually stay manageable on curly hair without constant upkeep.
Curly Cut Growing-Out Questions Worth Answering
How long does it actually take to grow out a bad wet cut on long curly hair?
It depends on how much was taken off and how much shrinkage your curl pattern has, but realistically six to eighteen months. Curly hair grows at roughly the same rate as straight hair — about half an inch a month — but because of shrinkage, you won’t see that progress in the mirror the same way. Patience and low manipulation (fewer heat tools, gentler detangling) genuinely speed up the visible results.
Can I use this dry-cutting method on wavy hair, or is it curl-specific?
You can, and it works well on 2B and 2C waves that clump in a predictable pattern. The trickier situation is looser 2A waves, which don’t form consistent clumps — they sort of drift together loosely and can look different from day to day. For those, the clump-isolation step is harder to execute reliably. A hybrid approach works: air-dry, then do the check-and-fall step without cutting, just to map your wave pattern, and cut on a day when the waves are behaving most consistently.
Is there a way to tell if a stylist plans to cut my curly hair wet before I sit down?
Ask directly: “Do you cut curly hair dry?” A stylist trained in curl-specific methods will say yes without hesitation and will probably want to see your curl pattern fully dried before touching scissors. If they suggest shampooing first or say they’ll “wet it down to see the length better,” that’s your cue to explain you’d prefer a dry cut — or to find someone who does them routinely. It’s a reasonable request, not a difficult one.
Do I need professional scissors or will any sharp pair work?
Professional haircutting scissors make a real difference, specifically because of how cleanly they close. Dull or misaligned scissors crush the hair shaft instead of cutting it cleanly, which creates split ends immediately and makes point cuts look ragged rather than blended. You don’t need to spend a fortune — a decent pair in the $30–$60 range designed specifically for hair cutting is enough for home maintenance work.
Six months after I started doing this clump by clump, my hair looked more like itself than it had since before the bad cut. Not perfect — the original shortest layer is still slightly shorter than the rest — but it blends now, and the ends move instead of looking truncated. The front sections, which I see every day, have completely caught up. The back is almost there. I’ll take it.