








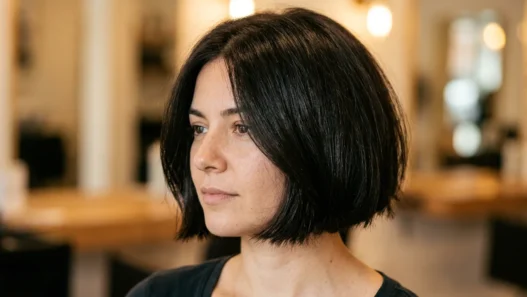


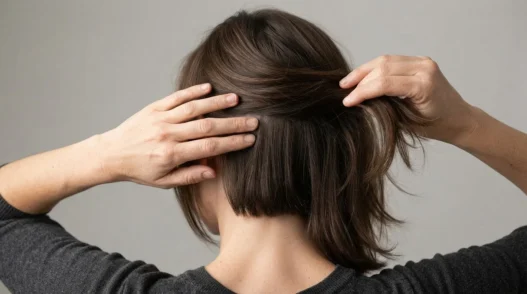
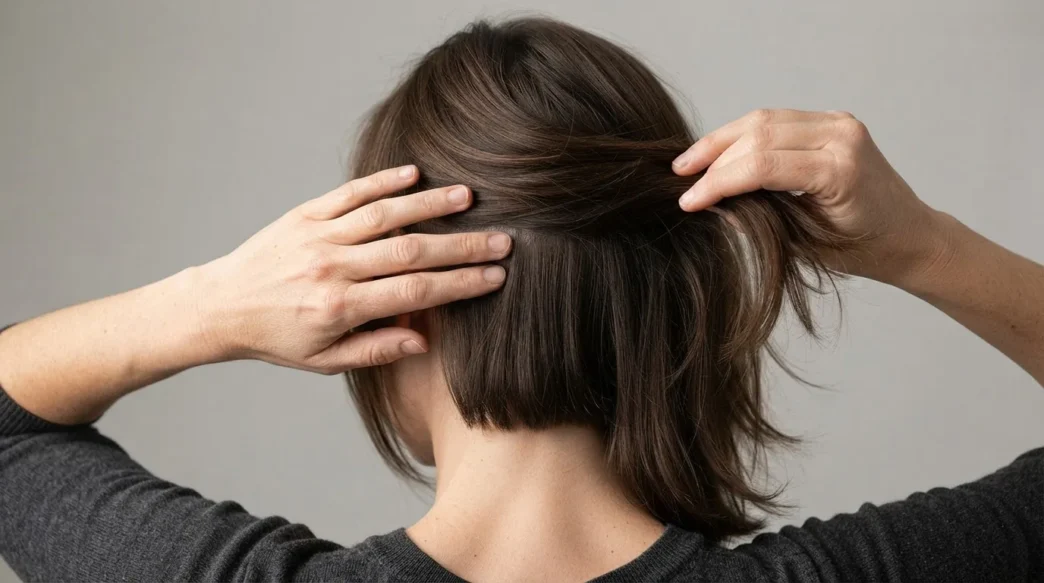
I got a butterfly cut last spring and I was obsessed with it for exactly three weeks. Then the short interior layers started pushing up instead of blending in, and my hair looked less like a beautiful layered shape and more like someone had taken scissors to the middle section on a dare. I spent two months trying to figure out what had gone wrong before I realized I was dealing with a very specific problem — not a bad haircut overall, just layers cut too short to ever behave while the length kept growing. This guide is everything I worked out during that awkward phase, written down so you don’t have to figure it out the same way I did.
Growing Out Gracefully: What’s In This Guide
What You’ll Need
Nothing here is complicated. You probably already have most of this — the goal is to work with what’s growing, not fight it with a full product overhaul.
- Two mirrors (one handheld, one wall-mounted — you need to see the back)
- A fine-tooth tail comb for sectioning
- Hair clips or butterfly clips to hold sections apart
- A lightweight styling cream or leave-in conditioner — nothing heavy
- A light-hold flexible wax or pomade for the interior pieces specifically
- A diffuser if you air-dry, a round brush if you blow-dry
- Sharp hairdressing scissors if you’re doing micro-trims at home — not kitchen scissors, I mean it
- A texturizing spray (optional but genuinely useful in Steps 5 and 6)
That’s genuinely it. The work here is observational before it’s physical — so the mirrors matter more than anything else on the list.
Step 1: Find Where the Layers Actually Break
Before you do anything to your hair, you need to see the actual problem clearly. Not the general feeling that something is off — the specific inch on your head where the layering stops blending and starts looking disconnected.
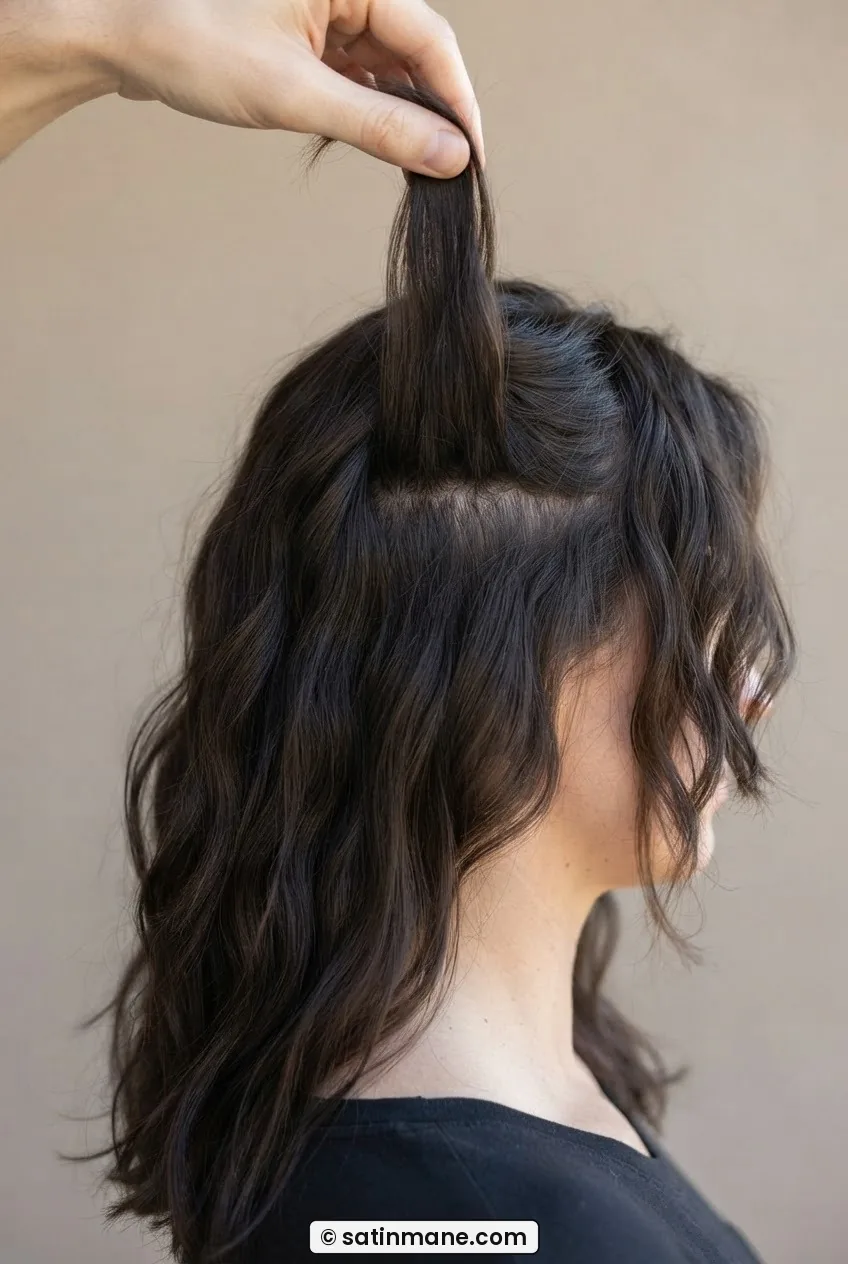
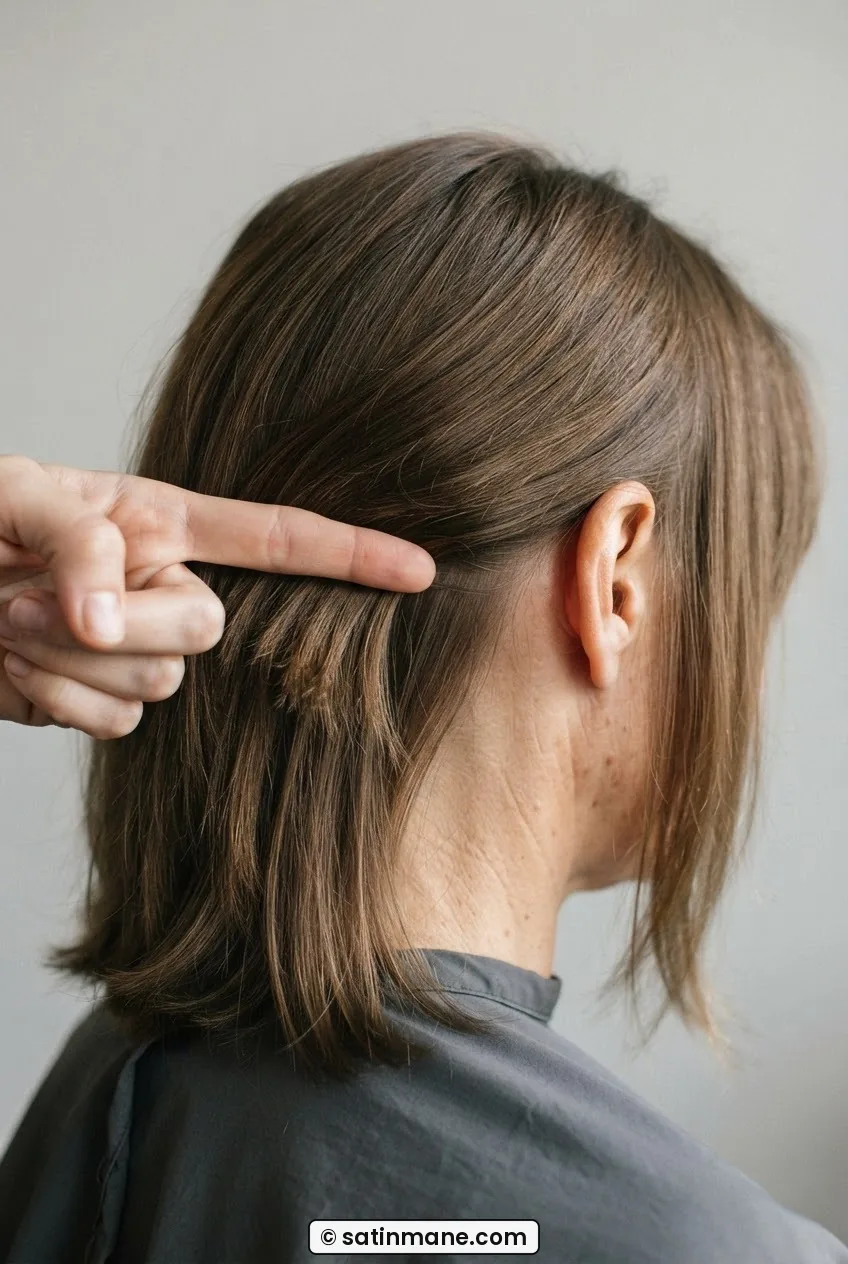
Part your hair down the middle and let it fall naturally. Then, with two fingers, gently lift a section from the interior — the area just behind your crown, where the butterfly cut’s short layers live — and hold it next to the surrounding length. Do they fall to the same point? Do the shorter pieces sit well above the longer ones with a visible gap? Or does one seem to be riding on top of the other instead of layering through?
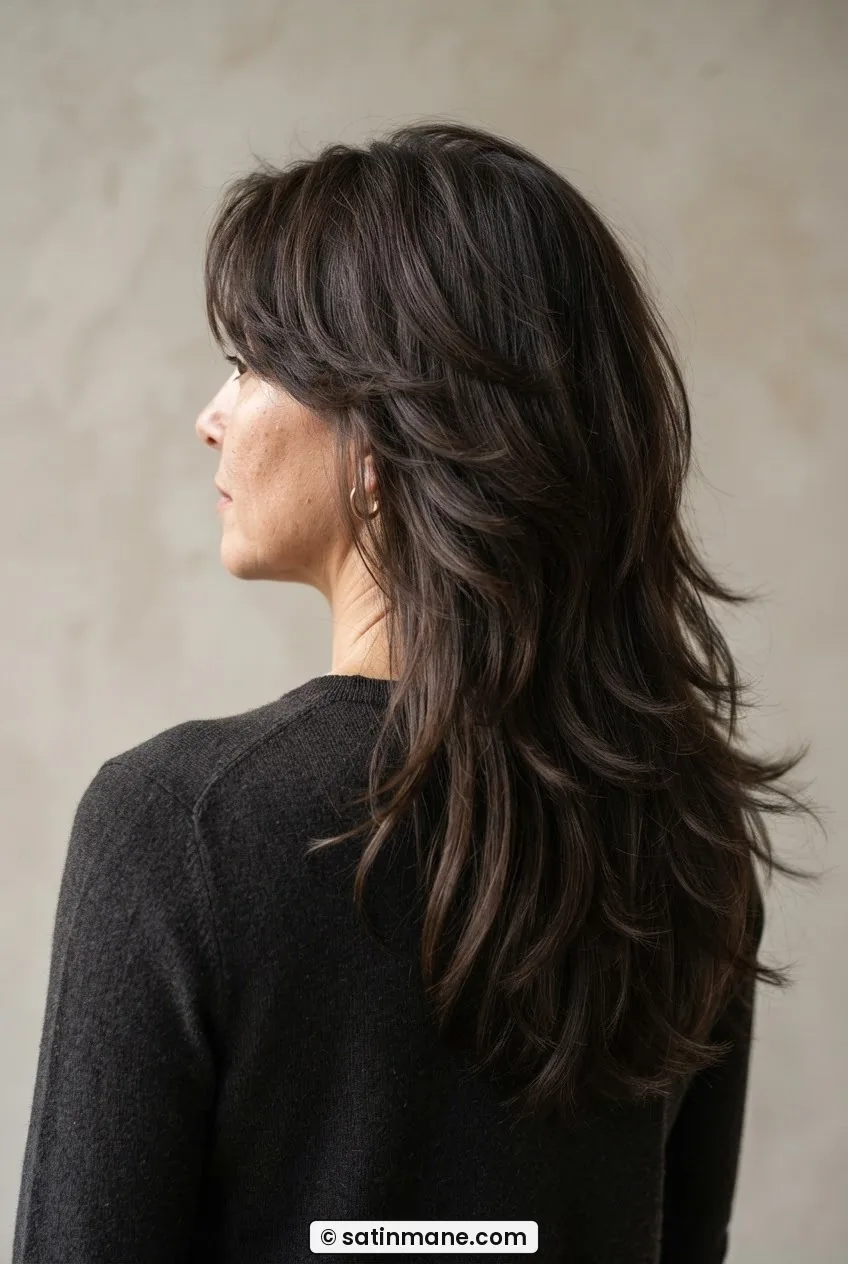
Look at the image below. She’s doing exactly this check — two fingers, interior layer pulled away from the length, both in view so you can read the difference in where they end. That gap is what you’re identifying. If yours looks like hers, the layers are genuinely too far apart to blend on their own right now.
Write down roughly where the break point is. Crown? Mid-shaft? Just behind the ears? That location tells you which of the next steps matters most for your specific situation.
Step 2: Check If the Interior Is Too Short
This is the diagnosis step I wish someone had walked me through sooner. There’s a meaningful difference between layers that are growing out awkwardly and layers that were cut too short to begin with — and the fix for each one is completely different.
Pull the interior layers straight up from the crown. If they sit shorter than roughly three to four inches, they’re in what I call the “push-up zone” — short enough to spring upward rather than falling into the length below. A butterfly cut is supposed to have short-ish interior layers that create lift at the crown, yes, but there’s a sensible range. Under three inches and the layers don’t have enough weight to ever drape properly. They’ll look like a little pom-pom of shorter hair sitting on top of your longer sections for months.
If that’s what you’ve got, the good news is you’re not doing anything wrong styling-wise — it’s a length problem that only time resolves. But knowing that stops you from overcorrecting and cutting more length off while you wait, which is the most common mistake at this stage. I’d also recommend reading about how layering can go wrong on mid-length hair — a lot of the same root causes apply here.
Step 3: Assess How Much Weight You’ve Lost
Weight distribution is the real invisible factor in why butterfly cut layers go wrong during the grow-out. When the short interior layers were cut in, they removed bulk from the top section of your hair. As the rest of your hair grows, the outer length gets heavier — but the interior layers are still catching up. The perimeter pulls downward while the interior floats. You get that strange puffiness or shelf effect at mid-length.
Check the sides of your hair specifically. Run your fingers along the outer layer from ear level down. Does the hair feel thicker there than it does higher up? That’s the weight pooling at the perimeter — and it’s a sign that your interior layers have a long way to go before they can contribute to that weight and smooth everything out.
If the weight loss is severe — meaning you can actually feel a dramatic thinning at the top compared to the bottom — you’re looking at a minimum of four to six months of grow-out before the butterfly cut starts looking intentional again. I know. It’s not what you want to hear. But you need an honest timeline before you start the fix.
The mistake I made here was trying to “fix” the top by having someone add even more layers to blend it. All that did was take more weight off a section that was already too light. I ended up with an even longer grow-out than I’d started with. If the issue is that the interior is too short and too light, do not add more short layers — not yet.
Step 4: Start a Micro-Trim Routine
Here’s where the actual fix begins — and it’s counterintuitive. To grow out bad butterfly cut layers, you need to trim the length. Not the short interior layers. The long ones.
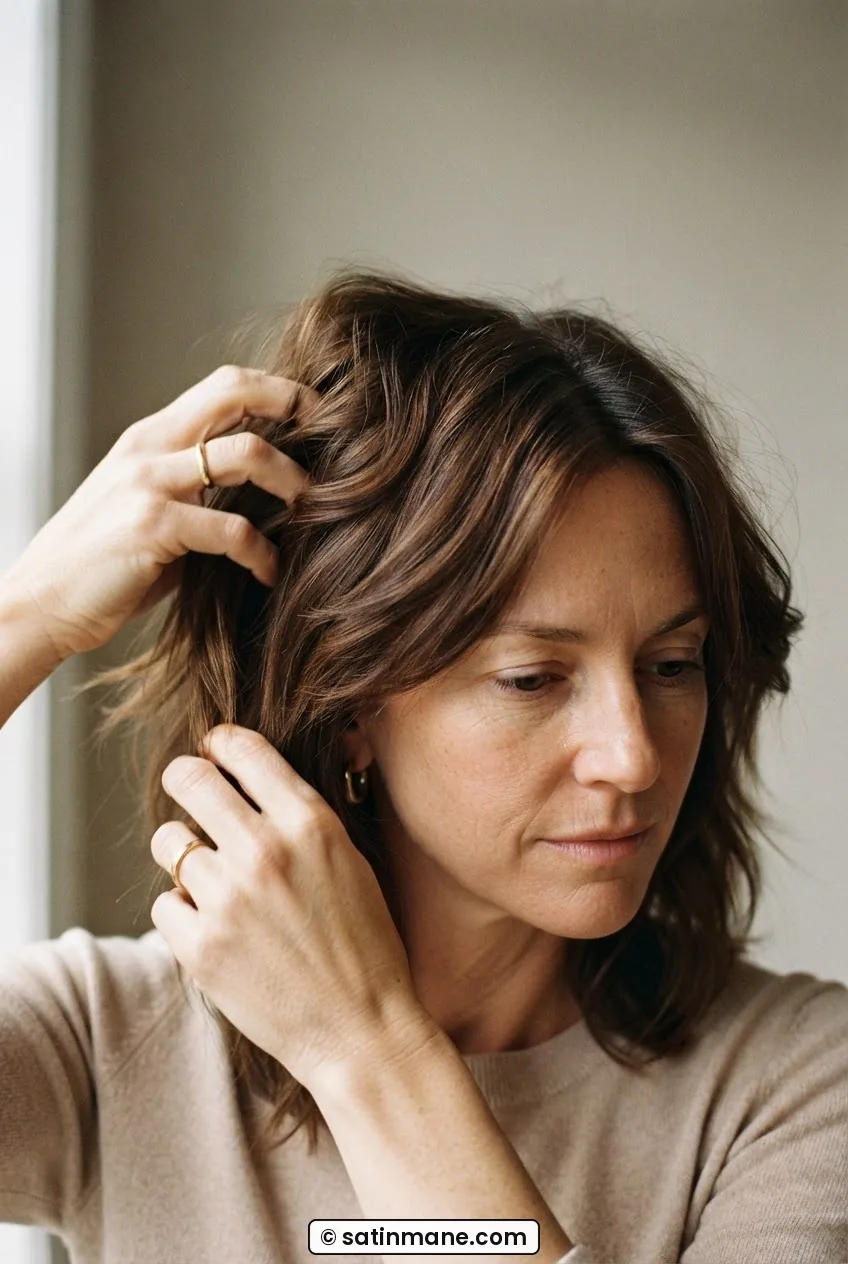
Every six to eight weeks, take roughly a quarter to half an inch off the very ends of your outer length. This slows down how far ahead the perimeter is racing and gives the short interior layers a chance to close the gap. It’s a patience game, but a strategic one. You’re not losing length in any meaningful way — a quarter inch every two months is barely anything — but you’re preventing the disconnect from getting worse while you wait.
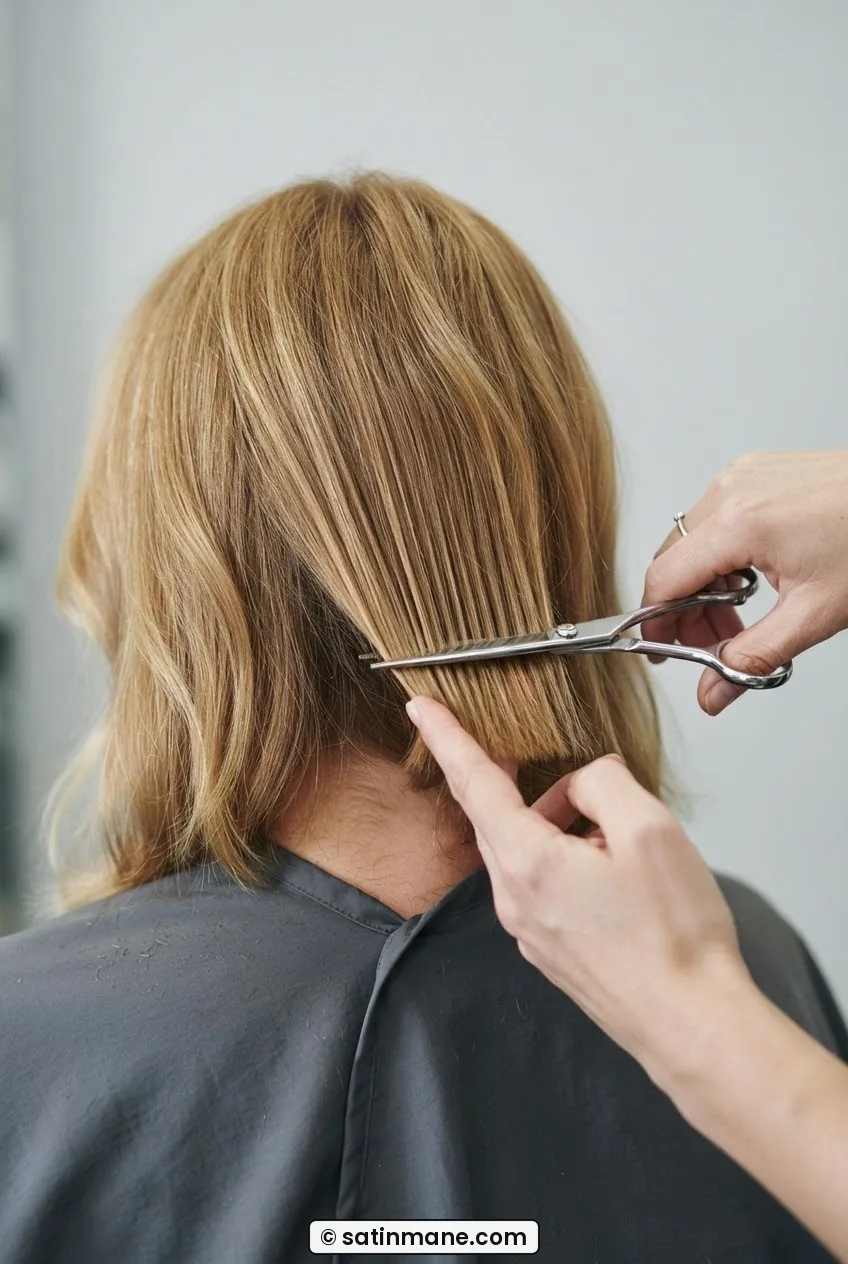
If you’re comfortable doing this at home, use your sharpest scissors and work on dry hair. Wet hair stretches and you’ll always cut more than you mean to. Trim horizontal sections at the back by holding the ends flat between two fingers and snipping along the fingertips — straight across, no angles, no point-cutting yet. That’s for later. Right now you want to keep the perimeter strong while the interior catches up.
This is also a good time to think about whether the butterfly cut is ultimately the right long-term structure for your hair. Some hair types — particularly fine hair — really struggle with interior layers that are cut short enough for the butterfly silhouette. If you’re already thinking about a low-maintenance alternative, the breakdown of the honest version of a low maintenance haircut is worth reading before your next appointment.
Step 5: Use Texture to Bridge the Gap
While you’re in the middle of the grow-out, texture is the thing that makes the disconnection invisible. Or at least less obvious. The short interior layers misbehave most when the hair is smooth and sleek — the length difference becomes starkly readable because everything is flat and separated. Add texture and the eye stops tracking exactly where each layer ends.
My approach: after washing, scrunch a small amount of texturizing cream through the mid-lengths and ends, then either diffuse on low heat or let it air dry without touching it. No brushing once it’s dry. This creates a soft, undone texture that makes the shorter layers look deliberate — like they’re part of an overall wavy, layered shape rather than orphaned pieces sitting above the length.
For the interior layers specifically, a tiny amount of flexible wax worked through with your fingertips helps you “place” them into the surrounding hair rather than letting them spring up. You’re not glueing them down — just coaxing them into the shape you want. This is actually something the long layer styling techniques world talks about a lot, and those same principles apply here even though your layers are shorter than classic long layers.
Step 6: Train the Length Without Losing It
By this point — assuming you’ve been doing the micro-trim routine for a couple of months and using texture to manage the gap — your interior layers are probably starting to approach a length where they can actually participate in your overall style. This step is about encouraging that process without sacrificing the length you’ve been protecting.
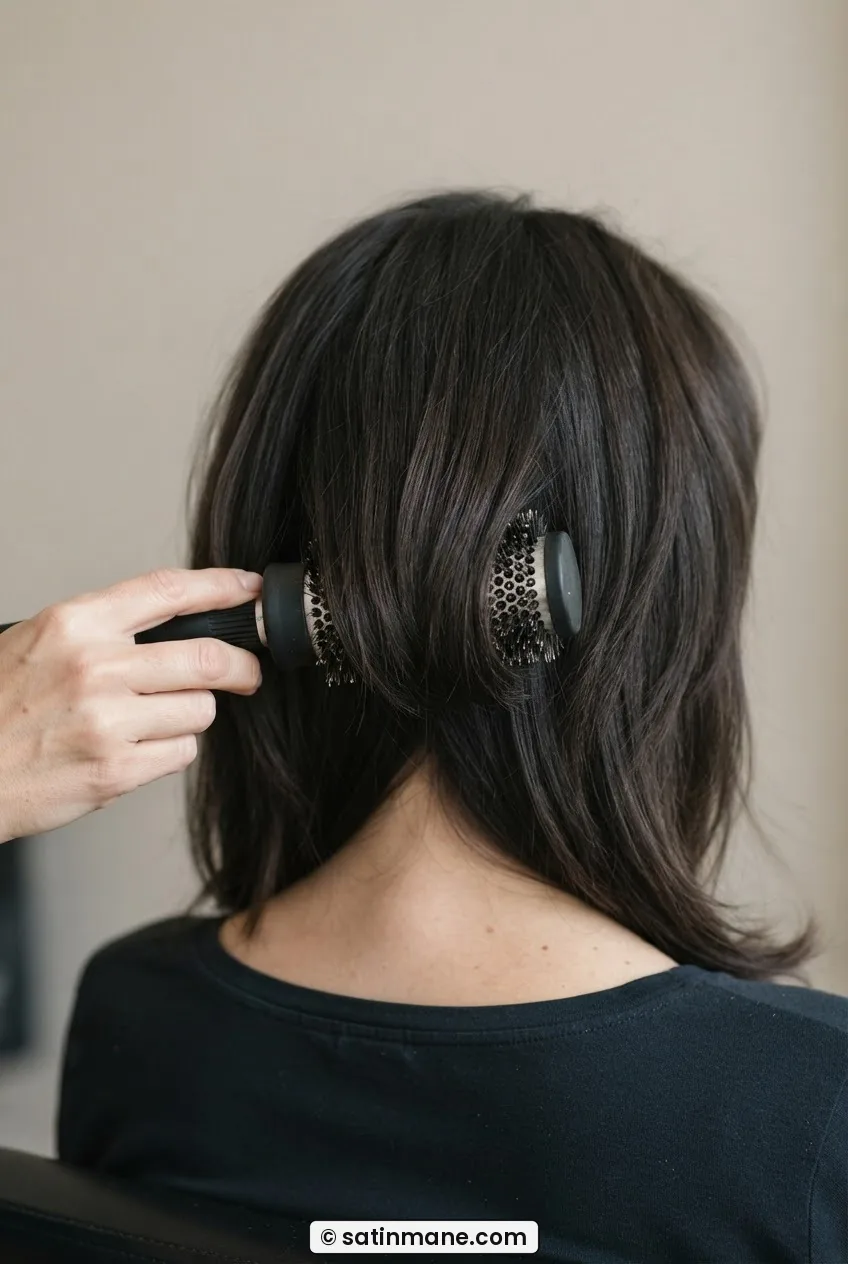
Start incorporating gentle downward tension when you style. If you blow-dry, use a round brush to direct the hair downward through the interior sections rather than lifting or wrapping. You’re training the shorter layers to fall with the weight of the rest of the hair rather than away from it. If you air-dry, try clipping the interior layers down flat to the top of your head for the first twenty minutes of drying. Not tight — just enough to encourage a downward set.
Look at the way her hair is sitting in the photo — the interior pieces are being held with consistent direction, not forced, just guided. That’s exactly the idea. And it genuinely works faster than you’d expect once the layers have a bit more length to work with.
It’s also worth understanding the difference between long layers and short ones in terms of how they behave when growing out, because it changes what styling approach makes sense. How long layers behave differently is a useful reference if you want to understand the mechanics of what’s happening as the interior lengths change.
If at some point during this process you decide you’d rather go shorter and start fresh, I’d genuinely consider looking at short cuts as an option — sometimes cutting above the longest layer problem point is faster than growing through it, especially if you’re past the collarbone anyway.
Step 7: Know When to Leave It Alone
This is the diagnosis that ends the whole process — and it’s the one that tells you to do nothing.
Go back to the two-finger test from Step 1. Pull the interior layer away from the length and look at where they each end. If the gap is now less than an inch — ideally half an inch or less — the layers are in blending range. They don’t need to be identical in length to look intentional; they just need to be close enough that the difference reads as layering rather than disconnection.
If you’re at that point, stop trimming the length. Stop actively “managing” the interior. Let the whole thing settle and grow together from here. This is actually where the butterfly cut starts to look really good again — because now you have genuine long layers running through the hair rather than a short choppy section sitting on top. The shape has grown into itself.
The other moment to leave it alone: if the interior layers have grown to four inches or more and they’re still not blending, it may be that your hair’s natural texture or density is working against the butterfly shape specifically. A face-framing layered shape might serve you better at this point. If you have a round face shape and you’re questioning whether the layering style is right for your features at all, the posts in the round face category are worth a look — face-framing layering can do a lot of the same things the butterfly shape promises, with less grow-out drama.
And honestly? If after all of this the interior layers are blending, the length is healthy, and the shape is moving correctly — that’s the moment to appreciate what you have. If you cut the butterfly layers yourself or had them done somewhere that wasn’t quite right, you’ve essentially rehabbed the cut. That’s not nothing.
Butterfly Cut Grow-Out: What Readers Keep Asking
How long does it actually take to grow out butterfly cut layers?
Realistically? Four to eight months if the interior layers were cut very short — under three inches. Hair grows roughly half an inch per month, so if your interior layers are sitting at two inches and you need them at five to blend properly, that’s six months of growth minimum. The micro-trim routine I describe in Step 4 slows the perimeter enough that the gap closes faster than it would otherwise.
Can I ask my stylist to fix bad butterfly layers in one appointment?
Sometimes yes, but it depends entirely on how short the interior layers are. If they’re long enough to soften with point-cutting and blending shears, a skilled stylist can make the disconnection much less visible in one session. If they’re genuinely too short to blend, cutting more into the length to “meet” them is the only same-appointment option — which means losing length you may not want to lose. Always ask your stylist to show you the specific break point before they pick up the scissors.
Should I be oiling or conditioning differently while growing out layers?
Heavier oils and thick masks can actually make the short interior layers harder to control during the grow-out — they get weighed down and tend to clump separately from the length rather than blending into it. Lightweight leave-ins and bond-building treatments are better here. They keep the hair healthy for the long grow-out without adding drag to sections that need to move freely. Leave-in conditioners for layered hair can point you toward the kind of products that work well in this context.
Is the butterfly cut the same as long layers?
Not quite. The butterfly cut specifically concentrates its shortest layers at the crown and interior, creating lift and a distinctive winged shape when the hair parts in the middle. Long layers, by contrast, run through the whole length more gradually with less dramatic difference between the shortest and longest points. The butterfly cut is essentially a specific type of layering, not interchangeable with general long-layered cuts — which is part of why the grow-out behaves so differently.
What if my butterfly cut looks fine now but I’m worried about the grow-out?
Do the two-finger check from Step 1 every time you wash your hair. As long as the gap between interior and exterior layers is under an inch, you’re in good shape — just maintain with the micro-trim routine. The grow-out only becomes genuinely tricky when the length races ahead while the interior layers are stuck very short. Catching it early means you can manage it with minimal drama. If you’re new to layered cuts and thinking about whether this suits your hair type, the section on undercut pixie styles for a first short cut might also help you think through how dramatic interior layering behaves long-term.